Mickey and Minnie Easter Doughnuts

Mickey and Minnie Easter Doughnuts

By Erin
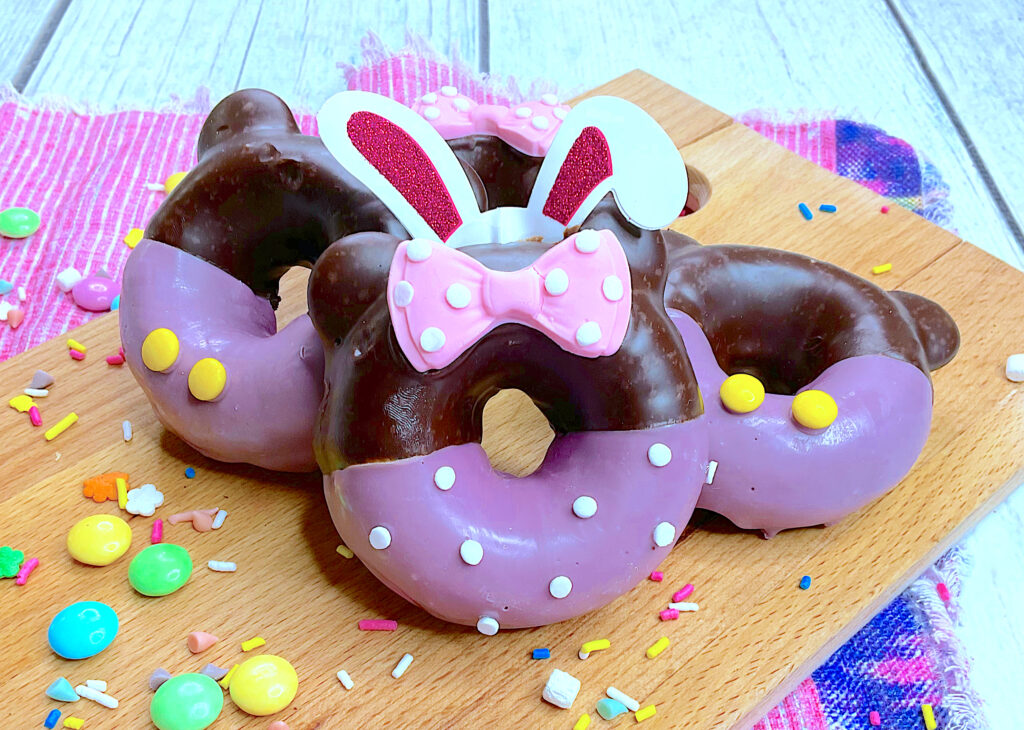
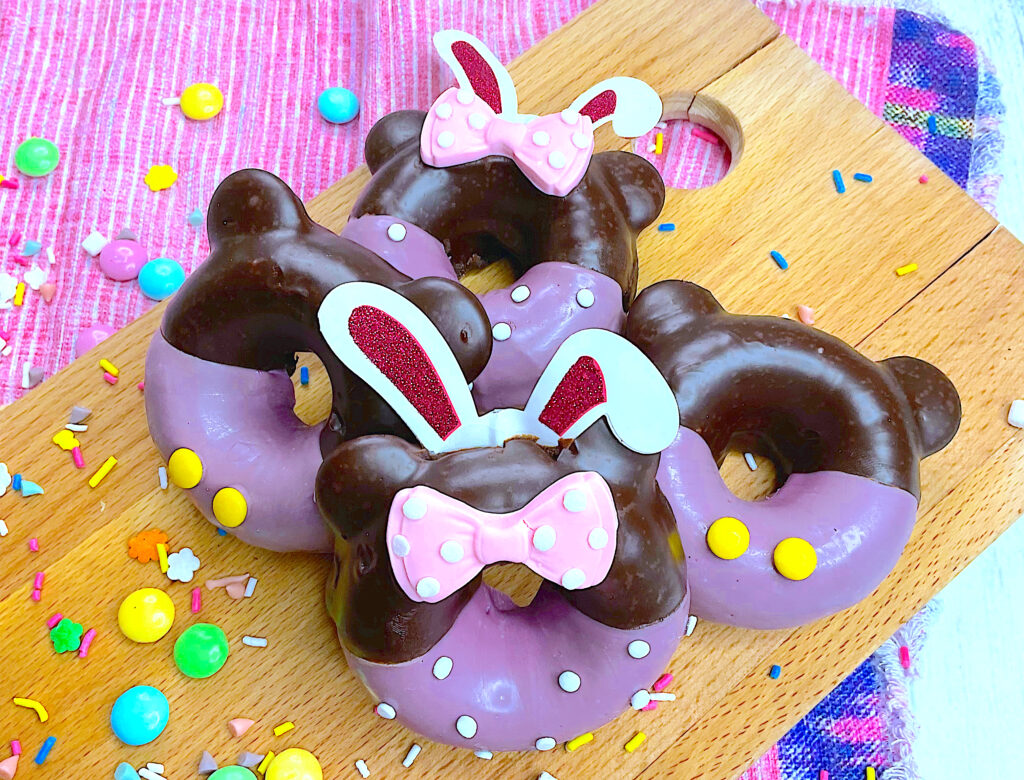
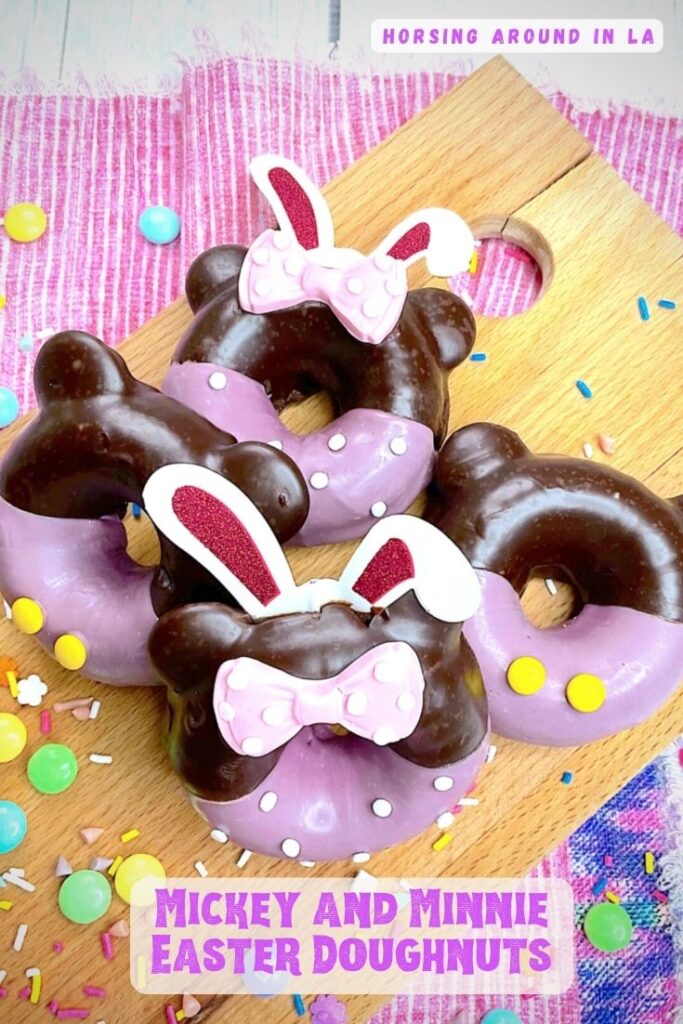
These adorable Mickey and Minnie Easter Doughnuts are perfect for Easter breakfast, brunch, or just a fun treat to enjoy! These little doughnuts are so cute, they’re almost too cute to eat… almost. 😉

Mickey and Minnie Easter Doughnuts Makes 12 doughnuts
Chocolate Doughnuts:

2 Cups flour
2⁄3 Cups sugar
1⁄2 Cup Hershey dark cocoa powder
2 teaspoons baking powder
1⁄2 teaspoon salt
1⁄2 Cup buttermilk
2 large eggs
2 tablespoons unsalted sweet cream butter, melted

2 teaspoons pure vanilla extract

Chocolate Ganache:

2 Cups semi sweet chocolate chips

1 3⁄4 Cup heavy whipping cream

Large squeeze bottle

Decorating ingredients:

24 chocolate wafers

Purple Candy Melts

Large squeeze bottle

Pink Fondant

12 mini yellow m&m’s
White edible pearls, small size

Bunny Ear Cupcake toppers

Wilton silicone Bow Mold

Edible Glue
Pink Bows:
Using the pink fondant, pinch off about 1⁄2 teaspoon of fondant and roll into a ball. Press the fondant into the larger bowtie, mold and allow to set for 5 minutes. Carefully remove the fondant from the mold and place onto a cookie sheet. Make 12 more bows and allow to air dry for 2 hours.

Using the edible glue, brush onto the bottom of an edible pearl and place onto the bow. Allow to dry while you make the doughnuts.


Chocolate Doughnut Directions :
Preheat oven to 350 degrees and spray a doughnut pan with baking spray.

Using a large bowl, whisk flour, sugar, cocoa powder, baking powder and salt until combined. Whisk in the buttermilk, eggs, melted butter and vanilla until combined.
Fill each cavity 3⁄4 full and bake in the oven for 8-12 minutes or until a toothpick comes out clean.

Allow to cool before placing onto a wire rack.

Using a small pot, bring the heavy whipping cream to a simmer.

Pour over the chocolate chips in a medium bowl and allow to sit for a minute before whisking until smooth.

Pour the ganache into the squeeze bottle.

Decorating the Doughnuts :

Using a small knife, cut a small slit into the top corners of the doughnuts.

Push two melting wafers into the side of the doughnut to create the ears.

Place doughnut onto the wire rack and carefully using the chocolate ganache, pour over the top half of the doughnut.

Allow the ganache to drip off the doughnut and set for about an hour.

Once that hour is up, carefully pick up a doughnut and push in the bunny ears. Do this on half of the doughnuts for Minnie Mouse.

Using a microwave safe bowl, follow the directions on the back of the purple candy melts and melt completely.

Pour the melted candy melts into the second squeeze bottle.

Pour the melted candy melts over the bottom half of the doughnuts and lightly tap the wire rack so that any extra candy melts drips off the doughnuts.

Carefully place some edible pearls onto the bottom of the ‘Minnie’ Mouse doughnuts Place two yellow m&m’s on the ‘mickey’ doughnuts.
Allow the candy melt to harden before enjoying!

ENJOY!
Holiday Mickey Mouse Charcuterie Board

Holiday Mickey Mouse Charcuterie Board

By Erin

*Horsing Around in LA is a participant in the Amazon Services LLC Associates Program, an affiliate advertising program designed to provide a means for sites to earn advertising fees by advertising and linking to amazon.com*
Holiday Mickey Mouse Charcuterie Board

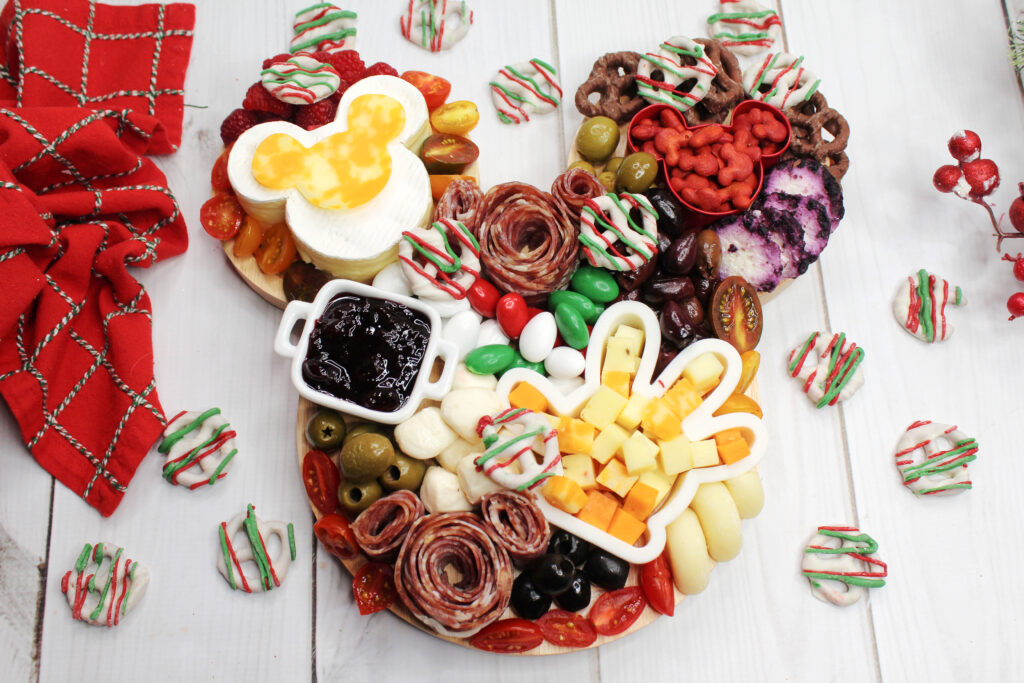
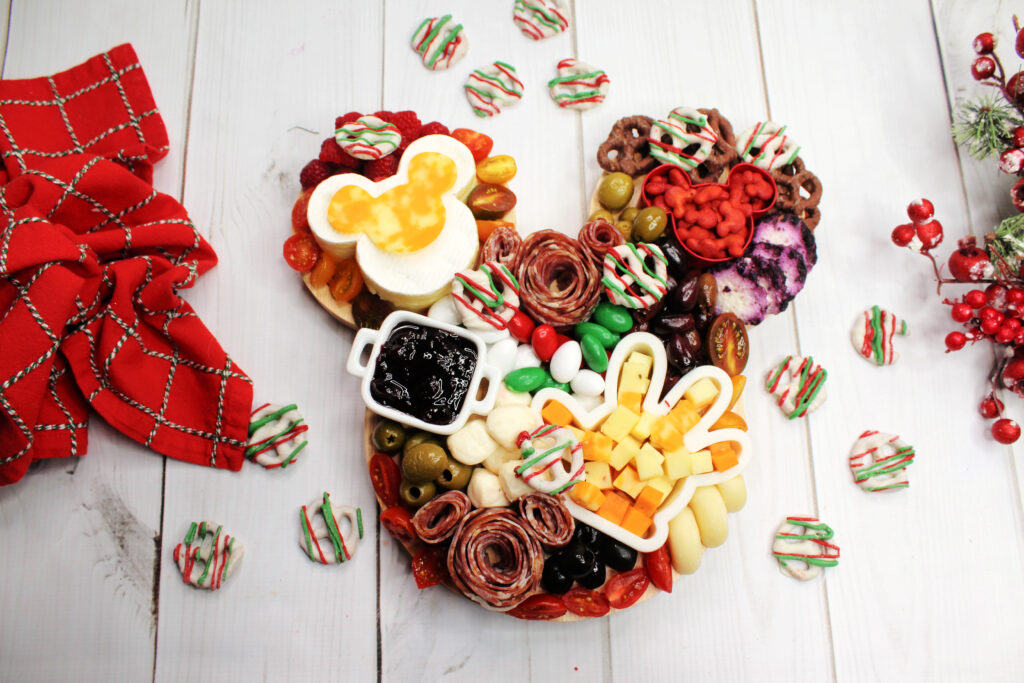
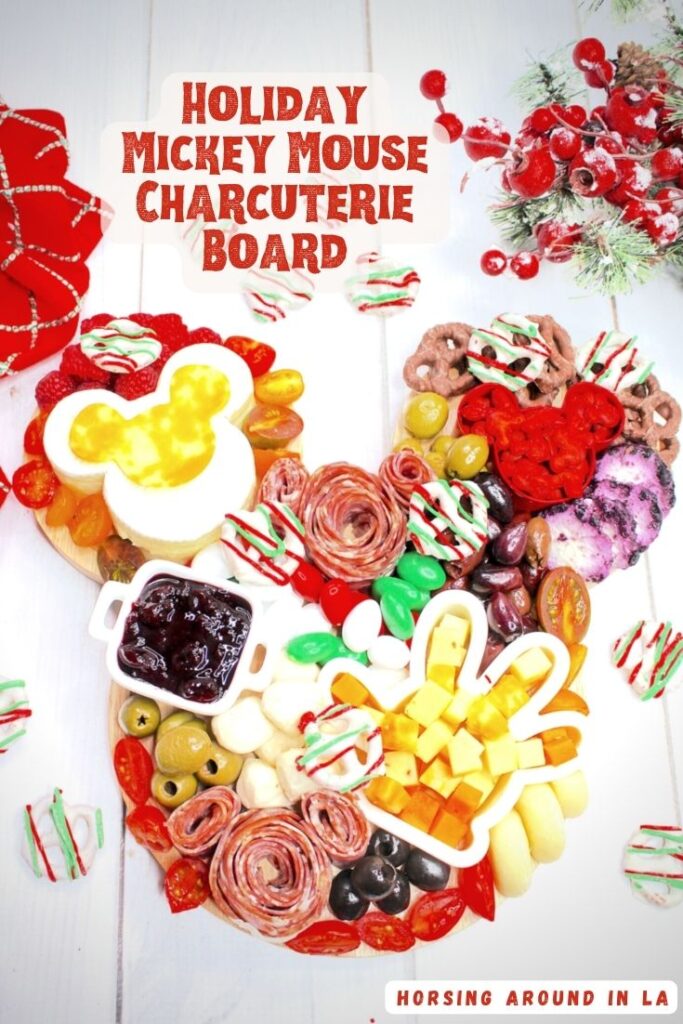
Tis the season for all the delicious holiday boards! They are so fun and easy to make!

What do you put on a Christmas charcuterie board?

Anything you want really! Use whatever you have on hand at home. Some delicious go-tos include charcuterie meats, cheeses (sliced or cubed), olives, roasted nuts, creamy spreads, crackers, veggies and herbs (for the leafy part). You can even include some sweet bites like dried fruits, chocolate-covered nuts or pretzels and one-bite Christmas cookies.

Mickey Mouse Charcuterie Board Yield: 5-6 servings

Prep Time: 30 min
Total Time: 30 min

Ingredients

Cheese:
4 ounces Cheddar cheese, small cubes
4 ounces Pepper jack cheese, small cubes
4 ounces Colby jack cheese, small cubes
1 8 oz double creamed Brie cheese, Mickey Mouse head shape

3-4 Babybel cheese rounds
1⁄4 cup Fresh Mozzarella
Blueberry Goat Cheese log

Olives:
1⁄4 cup cup whole black olives, pitted

1⁄4 cup whole green olives, pitted
1⁄4 cup whole black olives, pitted

Meats:
14 slices salami, for the Mickey heads ( 7 for each 1 )

Fruits and Veggies:
1⁄4 cup fresh raspberries

1⁄2 cup baby tomatoes cut in halves

Extra’s
1 cup Chocolate covered pretzels
1⁄4 cup Holiday Jordan Almonds
1⁄4 cup Mickey Cheddar Goldfish Crackers

Large Mickey Mouse head cookie cutter
Small Mickey Mouse head cookie cutter
Large Mickey Mouse hand cookie cutter

Small Ramekin filled with jam of choice

Instructions

Salami Mickey Mouse Heads
Take your first slice of salami and lay it on a clean surface or cutting board.
Lay the next salami on top of the previous salami only covering half of the bottom salami. Repeat with 4 more salami round slices.
Now roll the salami up into a circle.
Place the salami circle in a small glass and set to the side.
Begin the Mickey ears by rolling up 1 salami round into a small circle.
Use toothpicks to adhere the ears to the Mickey Head.
Create a second Mickey head and set it to the side.

Mickey Mouse Brie
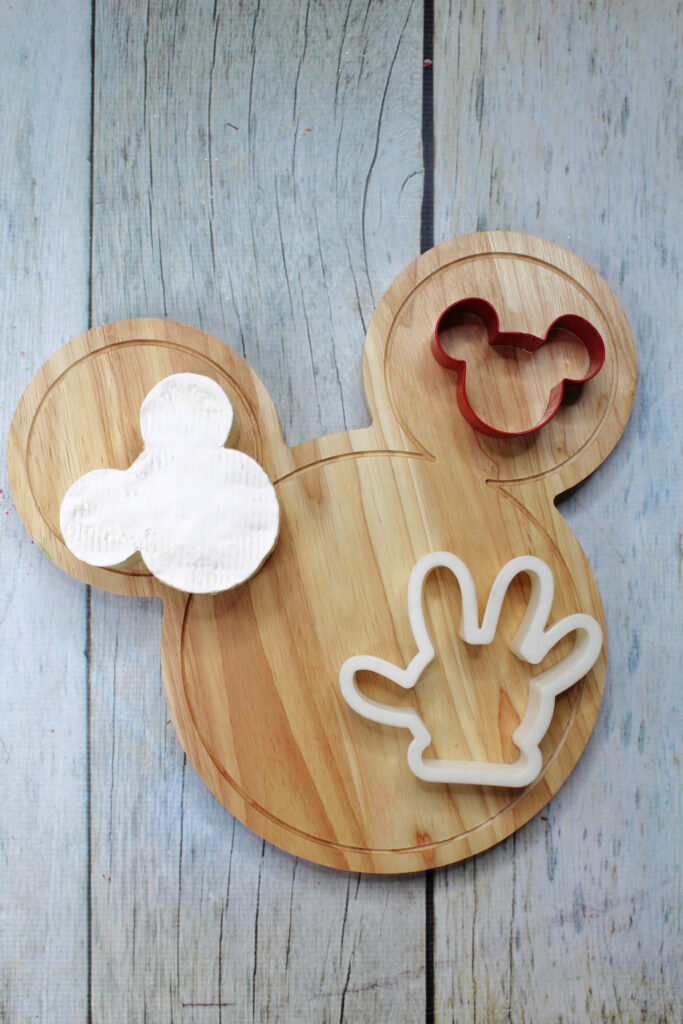
Use a large sized Mickey Mouse head cookie cutter, and press it into the Brie. Remove the excess Brie and set the Mickey head Brie to the side.

Setting up the board
Choose a large, circle wood board or a Mickey Mouse Head Wood Board. (This is a really nice Mickey Board and it’s on sale right now too!!)
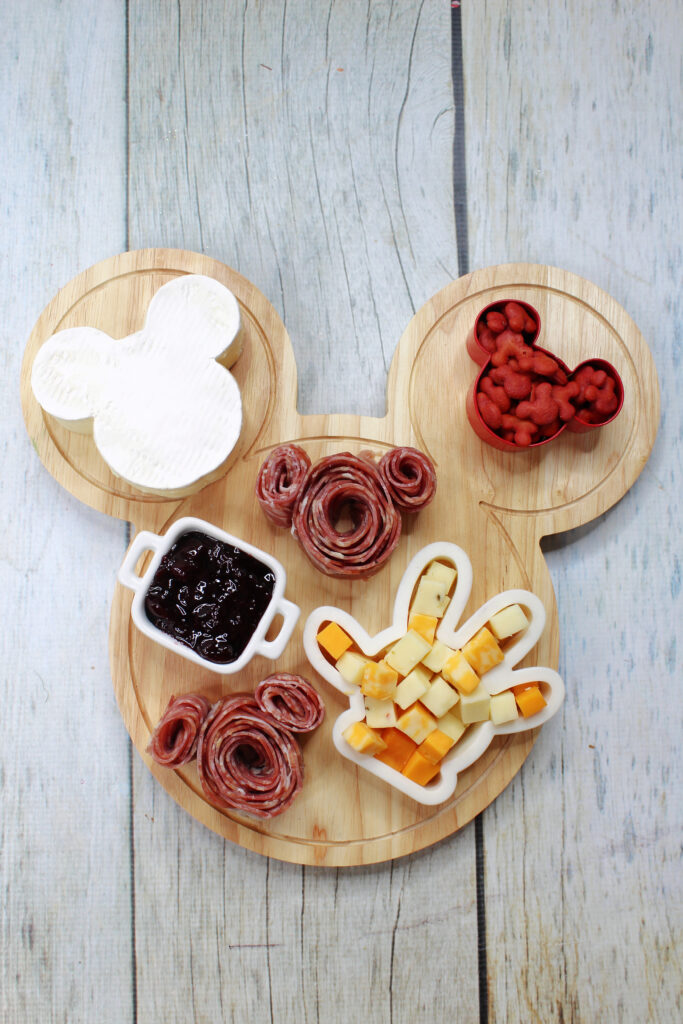
Start by putting the Brie, Mickey Mouse head cookie cutter, and Mickey Mouse hand cookie cutter on the board. Next place your Mickey Mouse salami heads on the board, placing them on separate ends.
Fill your small ramekin with your jam of choice and place it on the board.
Add your small chunked cheese to your Mickey hand cookie cutter, and spread evenly.
Place the remaining cheese on the board.
Add the fruit, olives and tomatoes to the board.
Fill in the empty spots on the board with your pretzels and Jordan almonds.
Fill your Mickey head cookie cutter with Mickey Mouse Goldfish crackers.

Links to the Mickey Mouse Board & Cookie Cutters:

Mickey Mouse Cheese Board 
Large Mickey Mouse Cookie Cutter

Small Mickey Mouse Cookie Cutter

Large Mickey Mouse Hand Cookie Cutter

Jack Nightmare Before Christmas Cheesecakes

Jack Nightmare Before Christmas Cheesecakes

By Erin

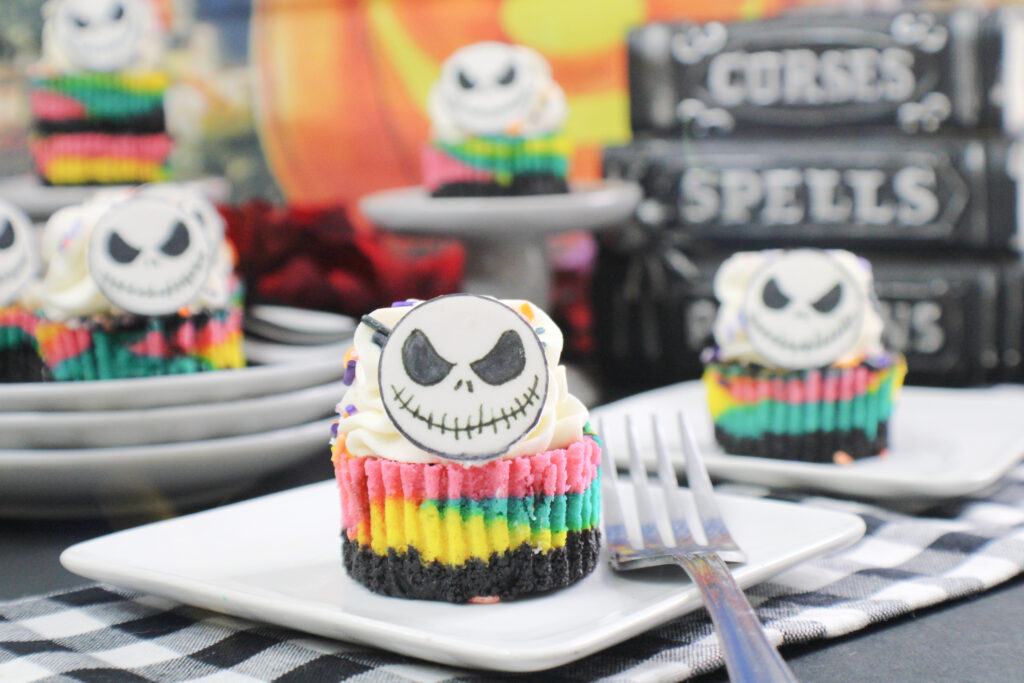
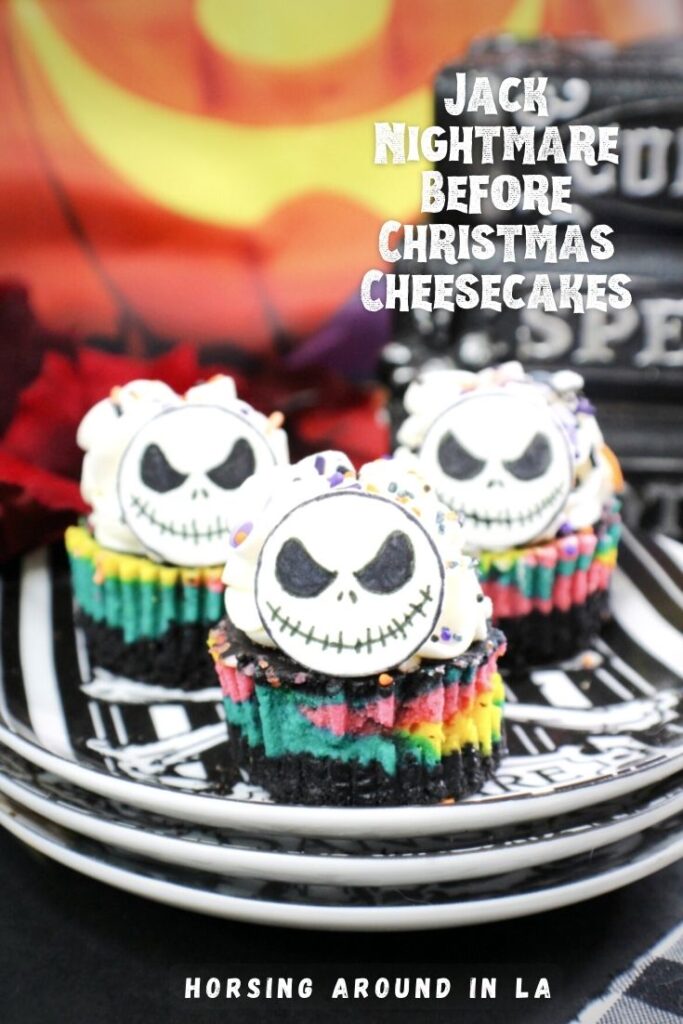
Ok so HOW cute are these Jack Skellington cheesecakes? Halloweentown’s beloved pumpkin king, is turned into a delicious Nightmare Before Christmas Cheesecake! Perfect to serve during spooky season, any Nightmare Before Christmas fan will get a kick out of these!

Makes 12 mini cheesecakes

Jack Fondant Piece

1 4 oz white fondant
1 black edible marker
1-2 inch circle fondant cutter Cornstarch

Directions
Follow directions on the back of the package to roll out the fondant. Cut out 12 circles and place onto a cookie sheet overnight. The next day, use the edible marker to draw on Jack Skellingtons face and set aside.

Crust Ingredients

1 package of oreo cookies, creme filling removed and finely crushed, 3 tablespoons of sugar
1⁄2 cup of butter, melted

Sally Cheesecake

2 – 8oz cream cheese, softened 2⁄3 cup sugar
1⁄4 cup sour cream
2 teaspoons of pure vanilla extract

2 large eggs
Teal, Pink, Neon Yellow and Black gel food coloring , Halloween sprinkles

Topping
Fresh whipped cream

Directions
Preheat oven to 325 degrees and line the cupcake/muffin pan with the cupcake liners.

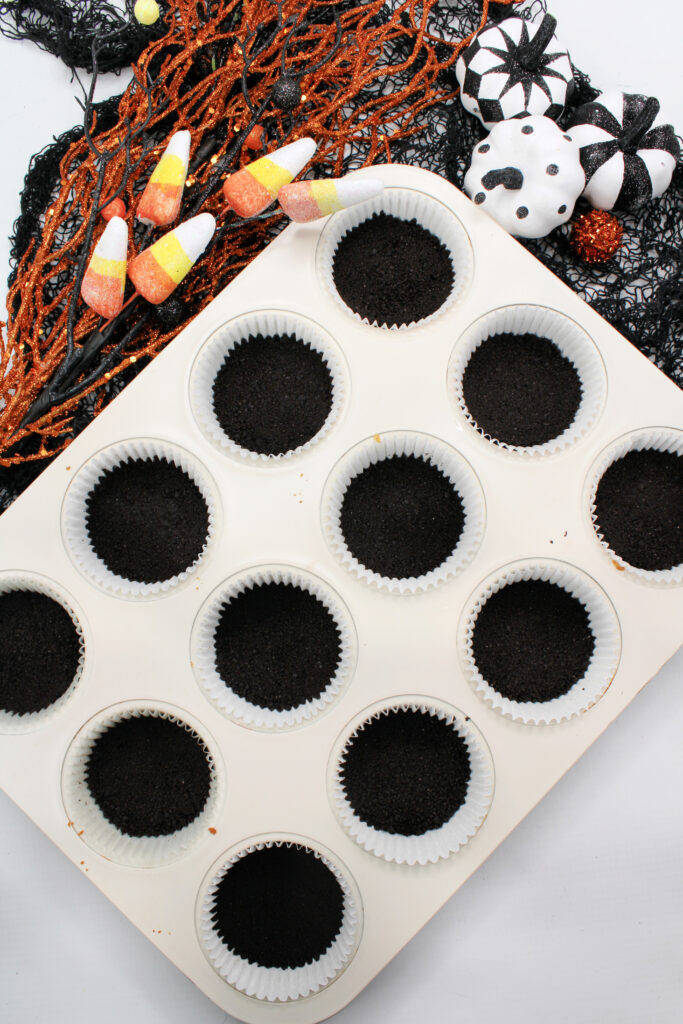
Using a medium bowl, whisk the oreo cookies, sugar and melted butter until a wet sandlike mixture forms.

Scoop 1 1⁄2 tablespoons of chocolate cookie crust into the cupcake liners and press into an even bottom using a flat bottom glass or measuring cup.

Bake the crust in the preheated oven for 5 minutes. Remove and allow to cool completely.

Preheat the oven to 350.

Using a large bowl, beat the cream cheese and sugar until combined and smooth. Beat in the sour cream and vanilla until combined and smooth.

One egg at a time, beat until combined.

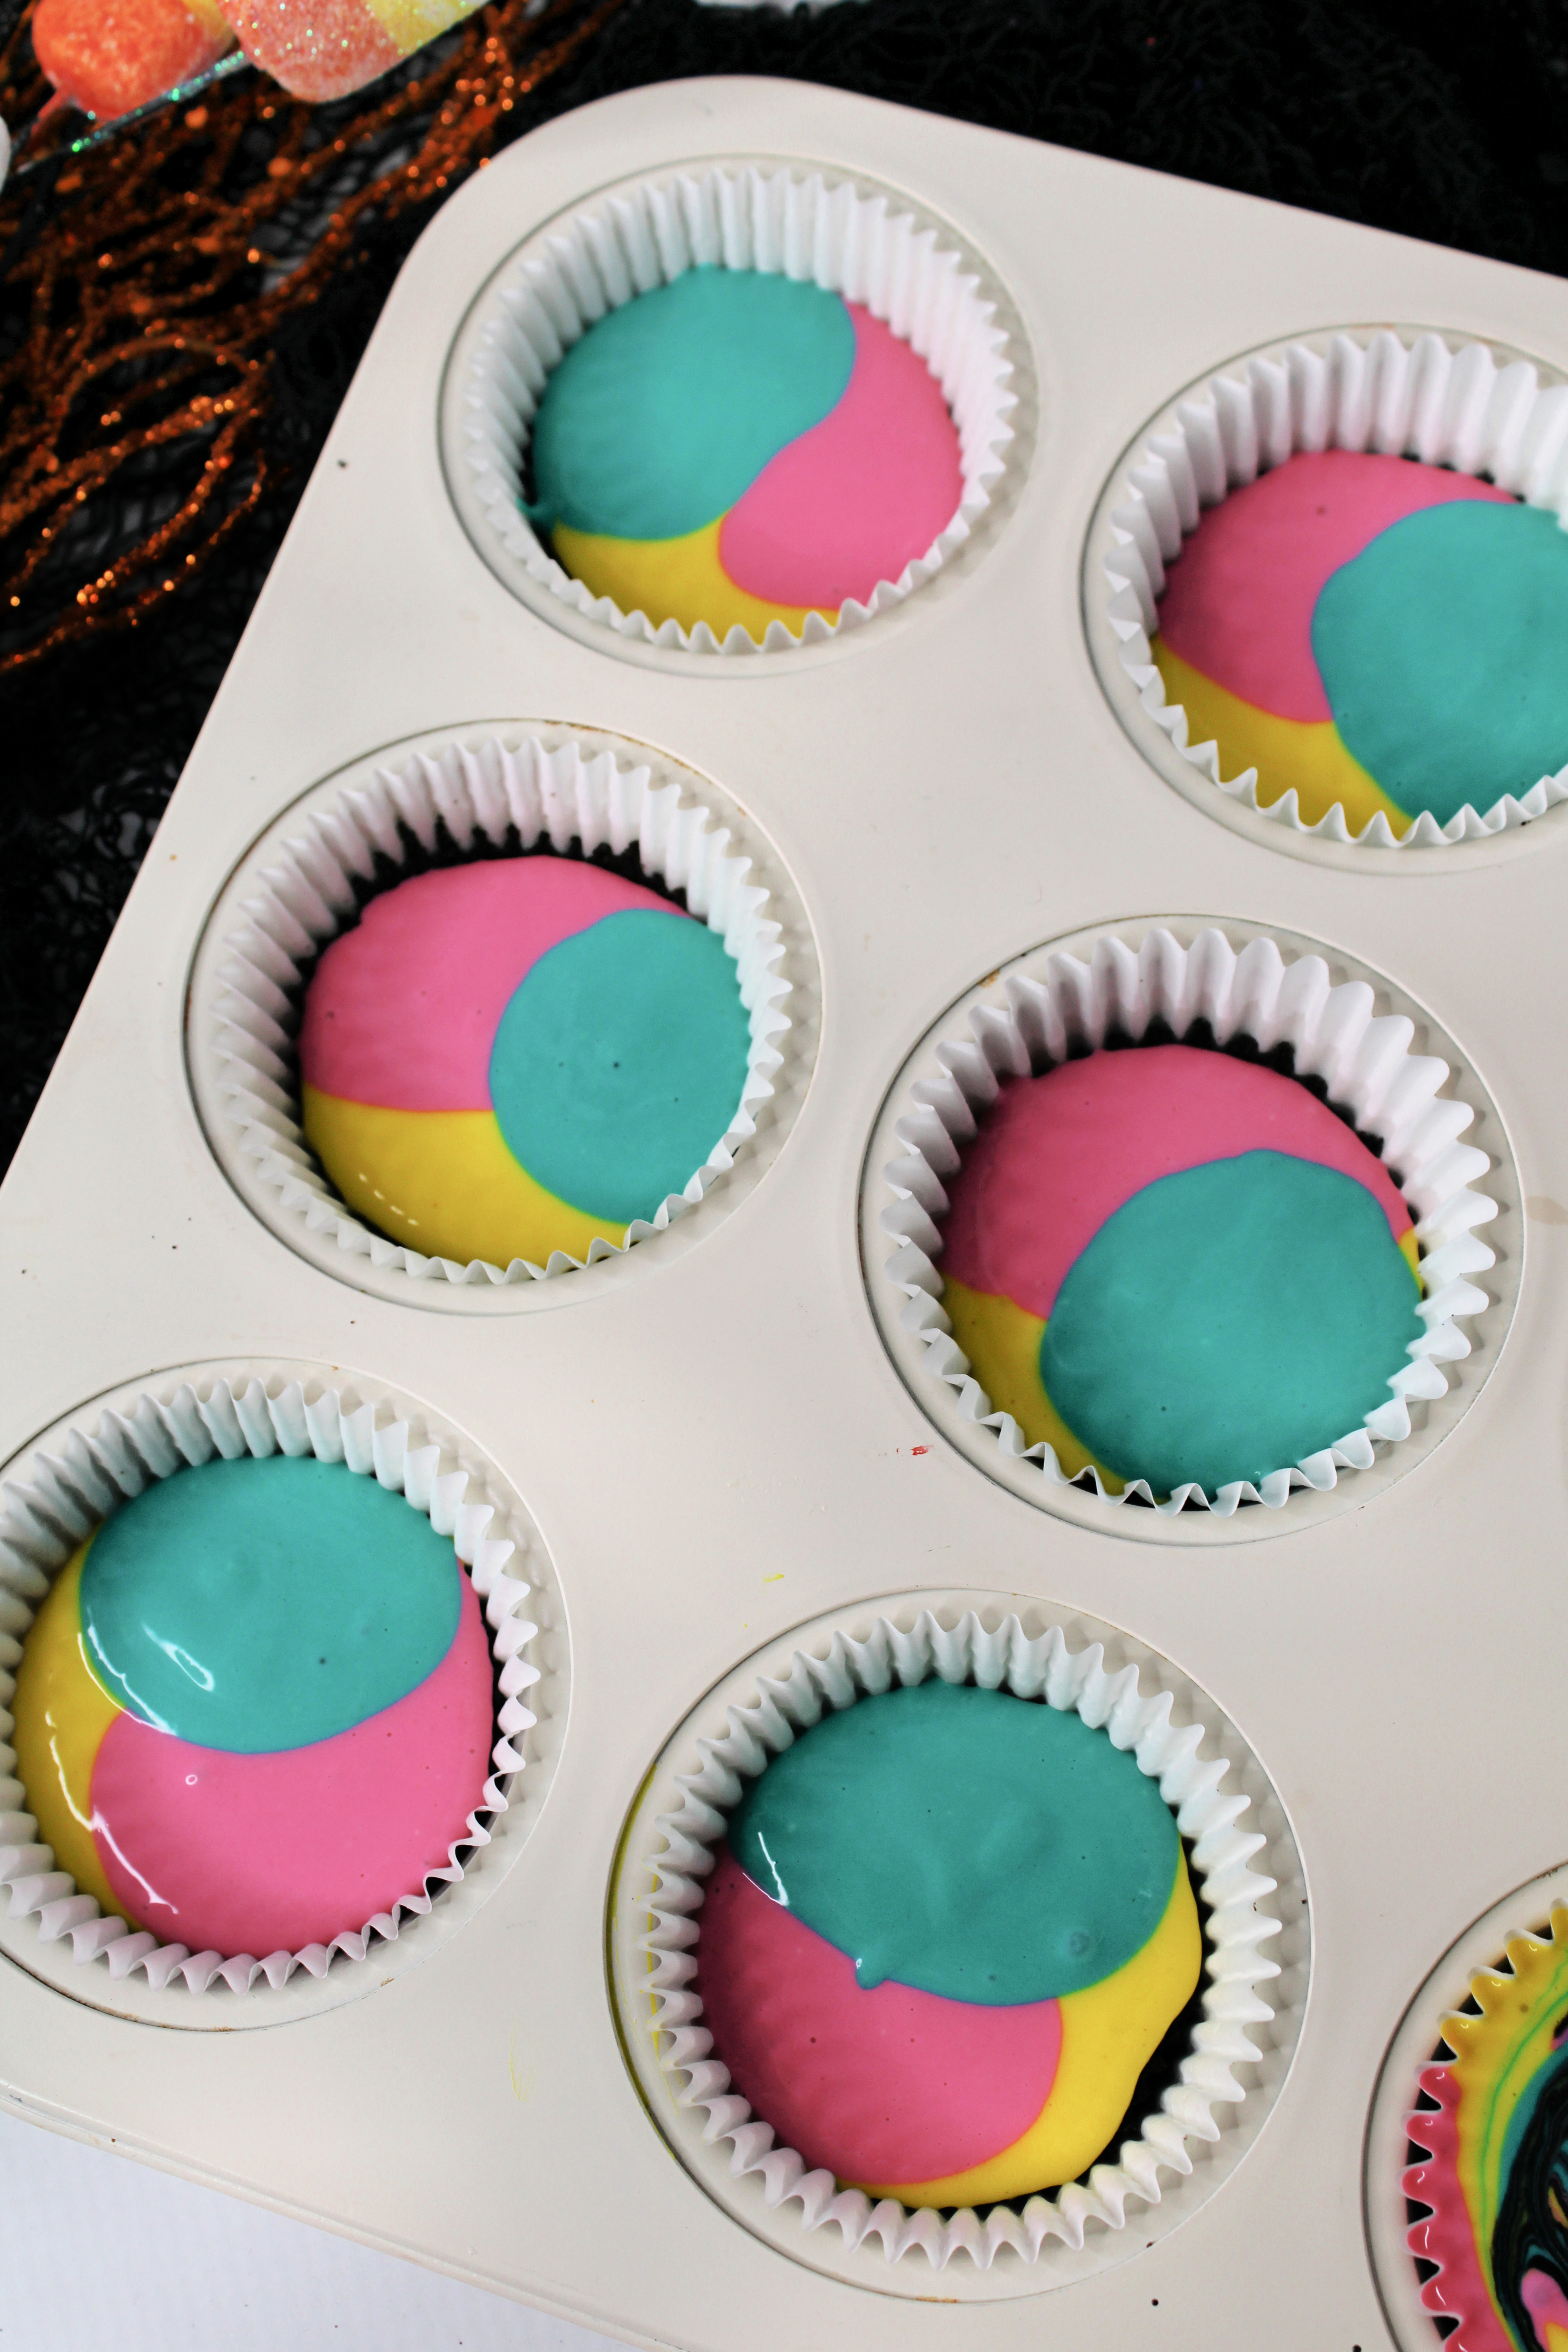
Divide the batter into four bowls,

Starting with the yellow, add in 1 tablespoon of the cheesecake batter into the crust.

Add in 1 tablespoon of the pink batter on top of the yellow batter.

Add in 1 tablespoon of the teal batter on top of the pink.

Add in 1 teaspoon of the black batter on top.

Use a toothpick and swirl the batter together.

Place into the oven and bake for 25-35 minutes or until the center is set!

Remove and allow to cool on the counter until room temp before moving to the fridge overnight.

Top with fresh whipped cream and halloween sprinkles and place a Jack fondant piece in the center of the whipped cream.

“My skull’s so full, it’s tearing me apart.” — Jack Skellington

Enjoy!