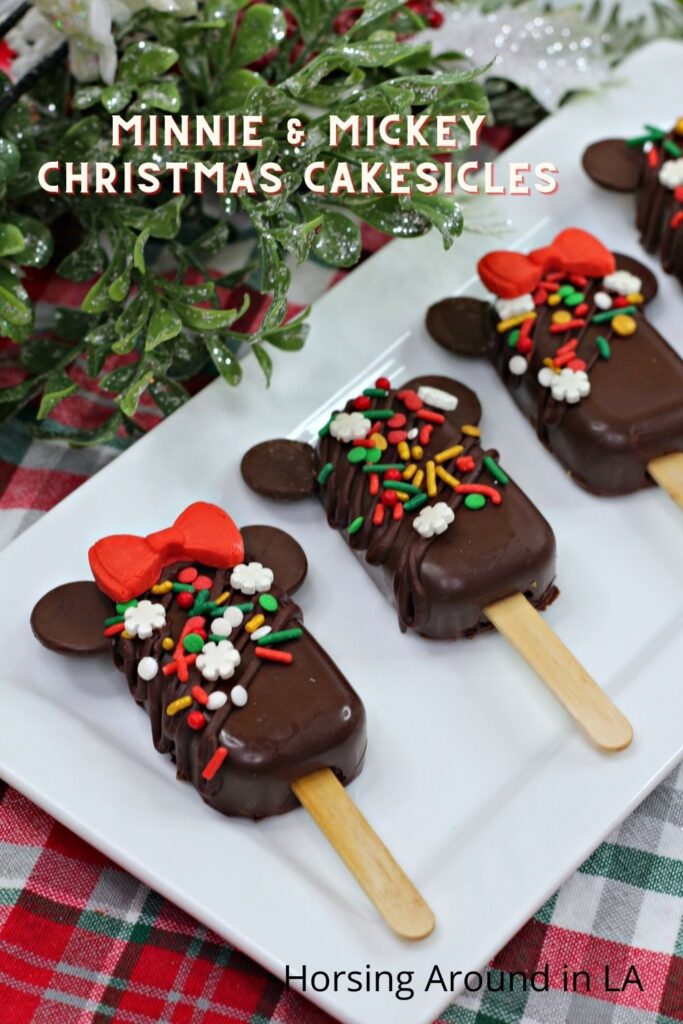
Minnie & Mickey Christmas Cakesicles

Minnie and Mickey Christmas Chocolate Cakesicles

By Erin
Minnie & Mickey Christmas Cakesicles

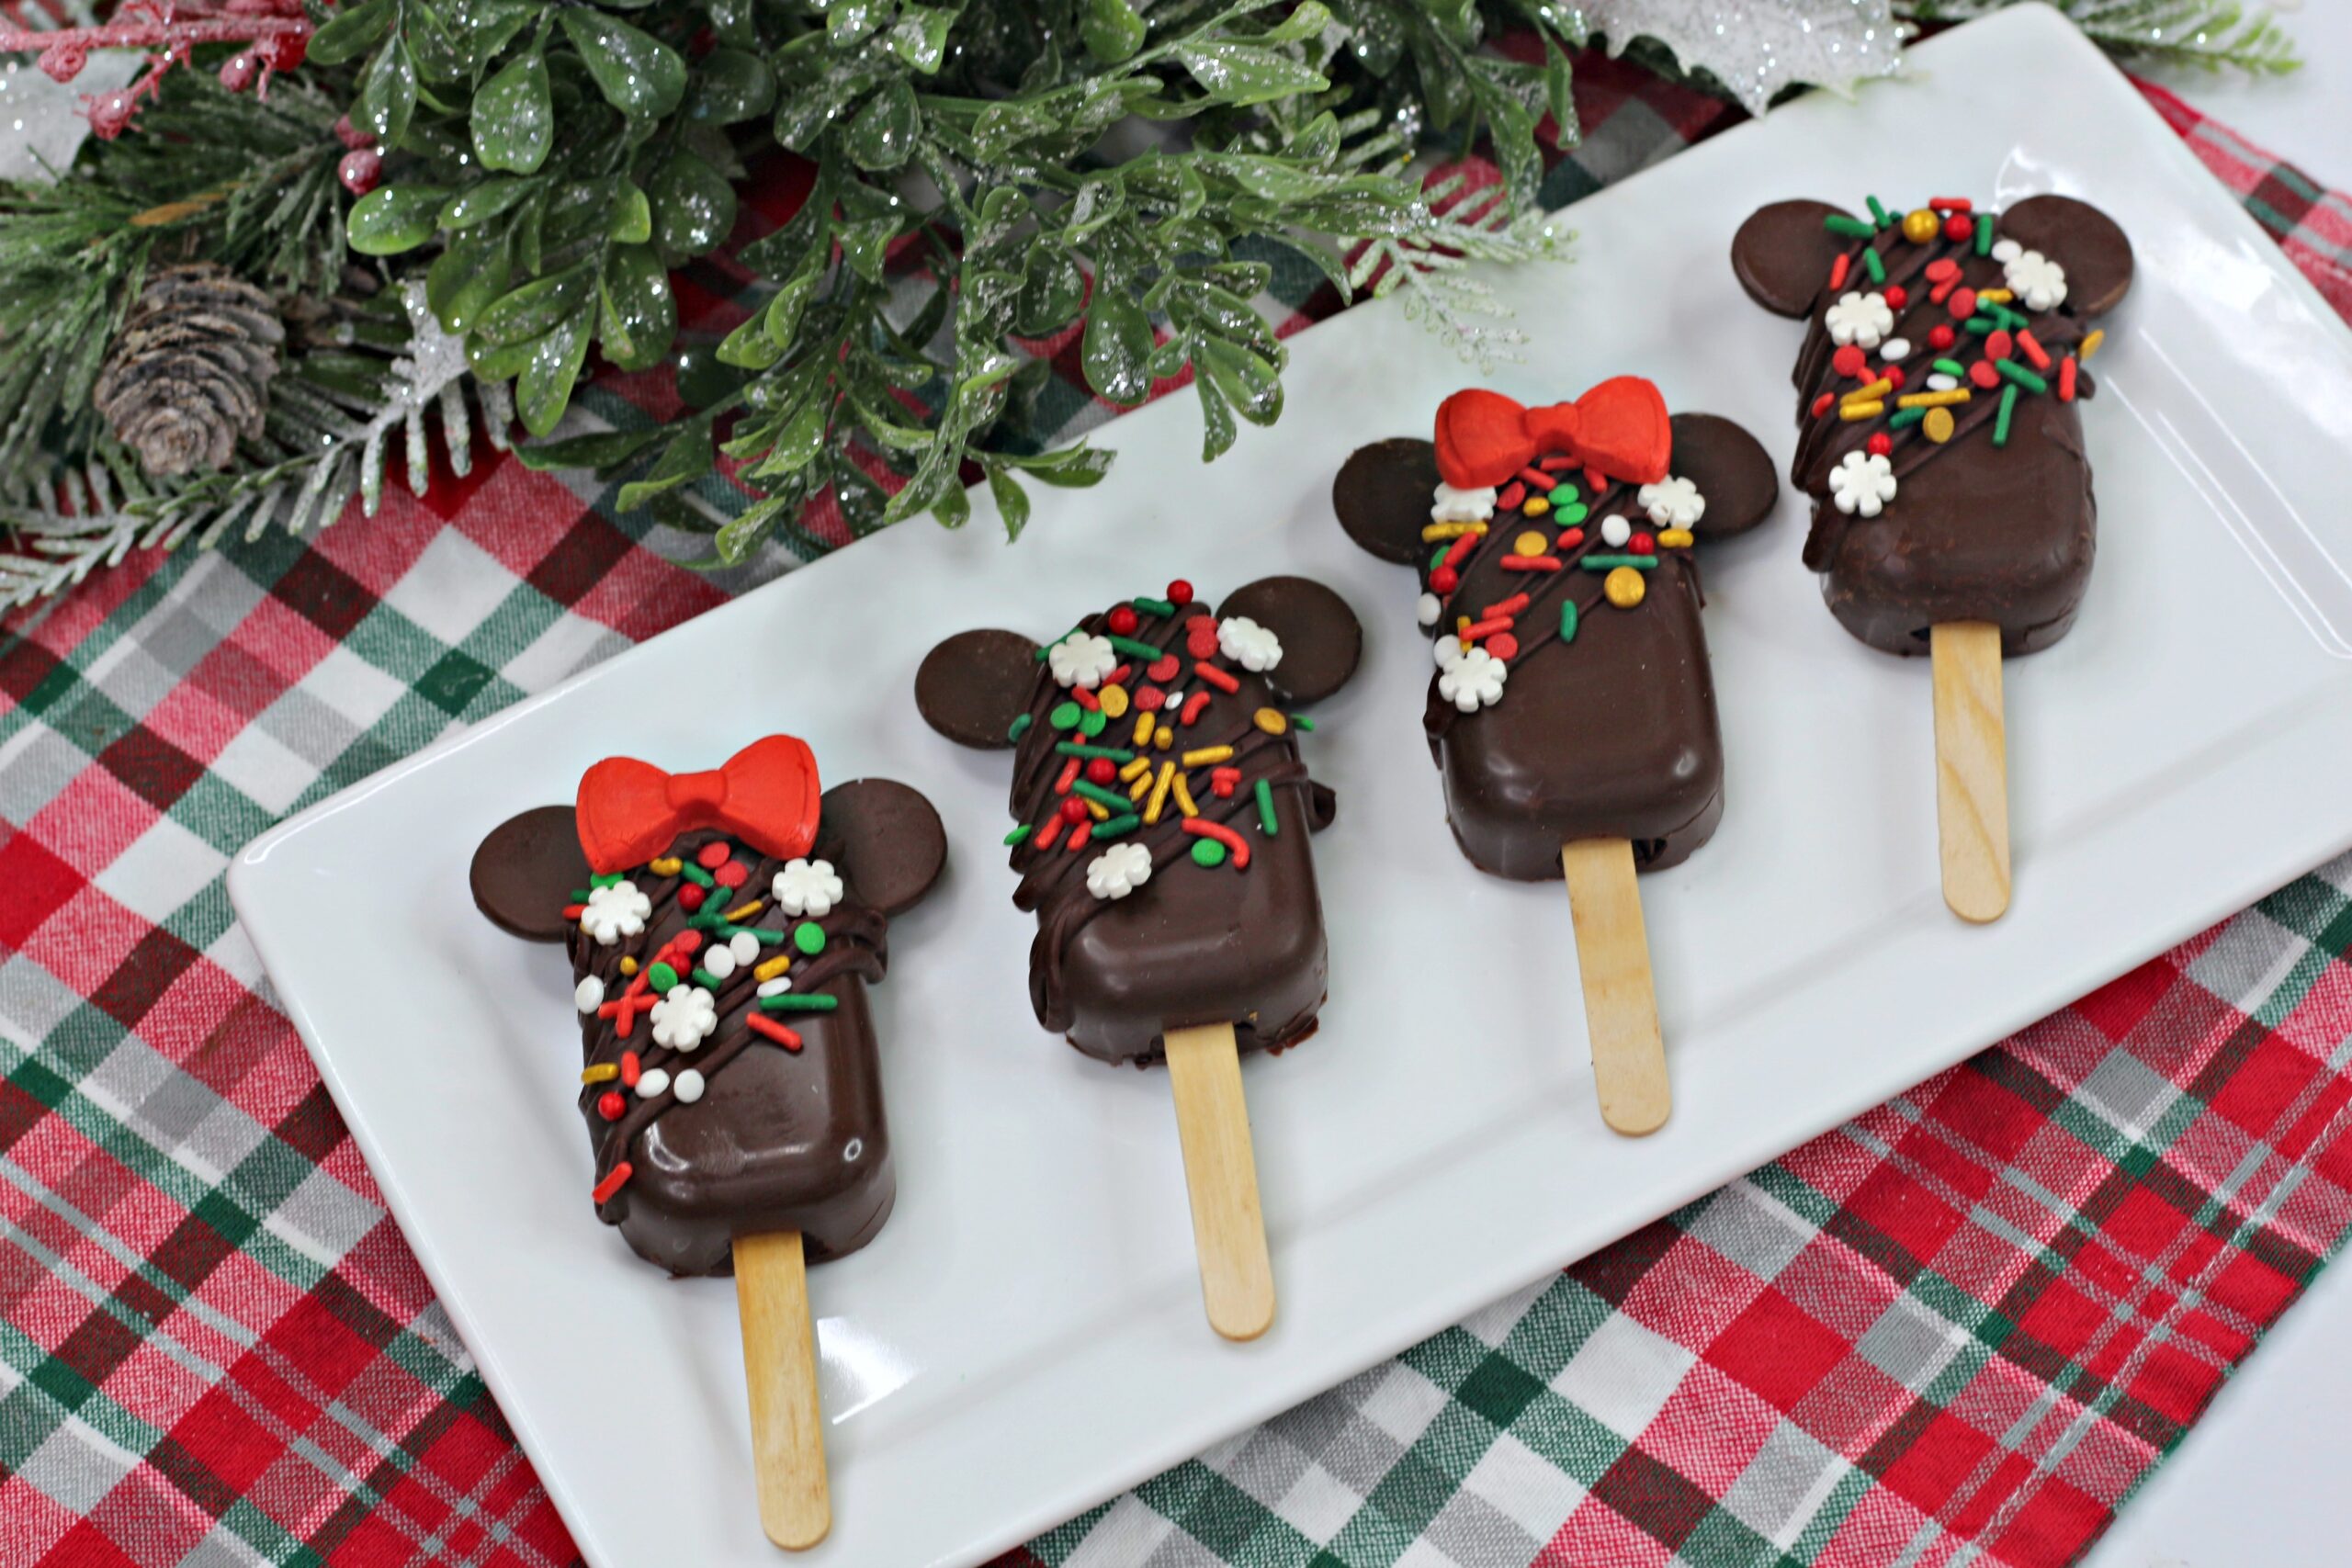
Winter cheer! Minnie & Mickey Christmas Cakesicles makes it easy to get in the holiday spirit with these magical and festive treats. The best part is you can make them at home to create some Disney magic in your own home to enjoy. Here’s how to make these fun treats that are sure to put a smile on your face!

Makes 18 cakesicles

Red Fondant Bow ingredients (Only need to make about 9 bows):

1 package of Wilton Red Fondant

1 wilton bow fondant mold

1 cup cornstarch

1 cookie sheet with parchment paper or a silicone mat

Directions

Dust your hands and the fondant mold with cornstarch

Work the red fondant to where it becomes soft

Pinch off about 1 tbsp of the red fondant and mold it into the small size bow

Remove and place onto the cookie sheet

Allow to air dry overnight

Chocolate Cupcake

1 box of chocolate cake mix

1 ¼  cup of whole milk

½ cup unsalted sweet cream butter, softened

3 large eggs

1 16 oz container of chocolate frosting

2 – 14oz bag of Ghirardelli chocolate melting wafers

1 cup of your favorite christmas sprinkles

1 silicone cake popsicle mat

1 cookie sheet with a wire rack

18 popsicle sticks

1 disposable piping bag

Cupcake Directions

Preheat the oven to 350 degrees and line a cupcake pan with liners

Using a large bowl, beat together the cake mix, milk, butter and eggs

until combined and smooth

Fill the cupcake liners ¾ way full

Bake in the oven for 21 minutes

Allow to cool completely

Once the cupcakes have cooled, remove them from their cupcake liners
and crumble them into a large mixing bowl

Making the cakesicle cake dough directions :

Once all the cupcakes have been crumbles into moist sand like texture,
scoop in about ¼ – ½ Cup of the chocolate frosting

Using either your hands or a rubber spatula, mix in the frosting into
the crumbs until a dough like mixture forms

Decorating directions

Remove 36 solid round chocolate melting wafers from the bag and set
aside. These will be used to make the ears

Using the remaining chocolate in the wafer bags, pour into a large bowl

Using a microwave, melt the chocolate in 30 second increments, mixing
after each time to ensure smooth melted chocolate

Once the chocolate is melted, spoon about 1-2 tbsp of the melted
chocolate into the cakesicle molds
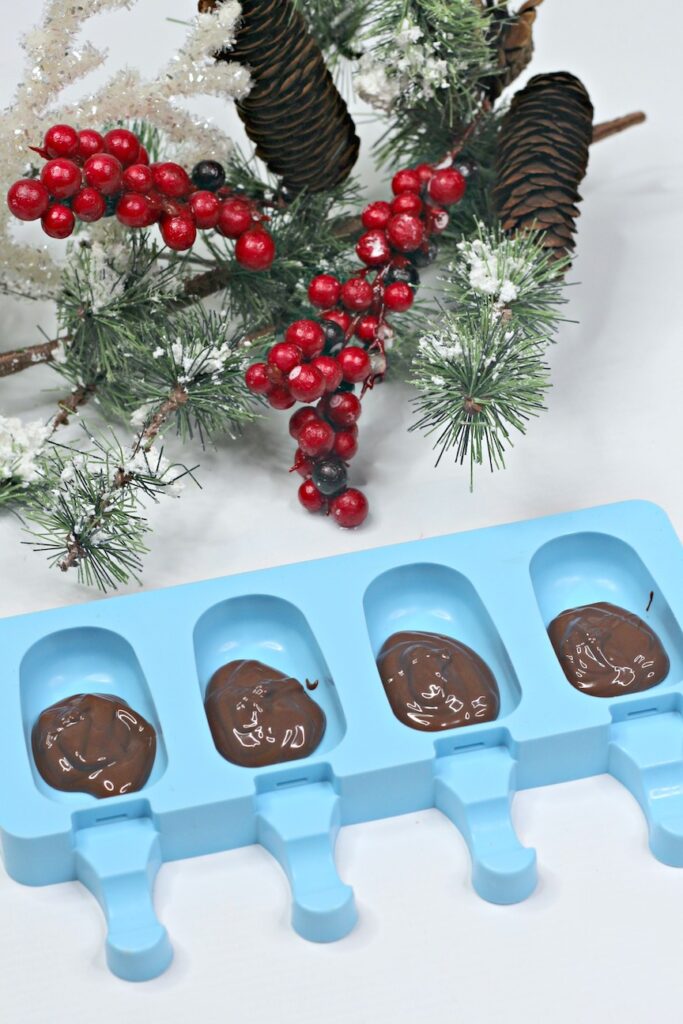
Move the cakesicle mold around to ensure that the sides are coated in
the chocolate

Carefully push in the popsicle stick into the bottom of the cakesicle mold

Place the mold into the fridge for about 10 minutes

Once the chocolate is set, remove from the fridge

Take about 1-2 tbsp of the cake mixture and carefully press into the
mold, make sure the side of the chocolate does not break

Remelt the chocolate used to coat the cakesicle mold

Once the chocolate is remelted, spoon on about 1-2 tbsp of the
chocolate onto the top of the cake mixture into the mold
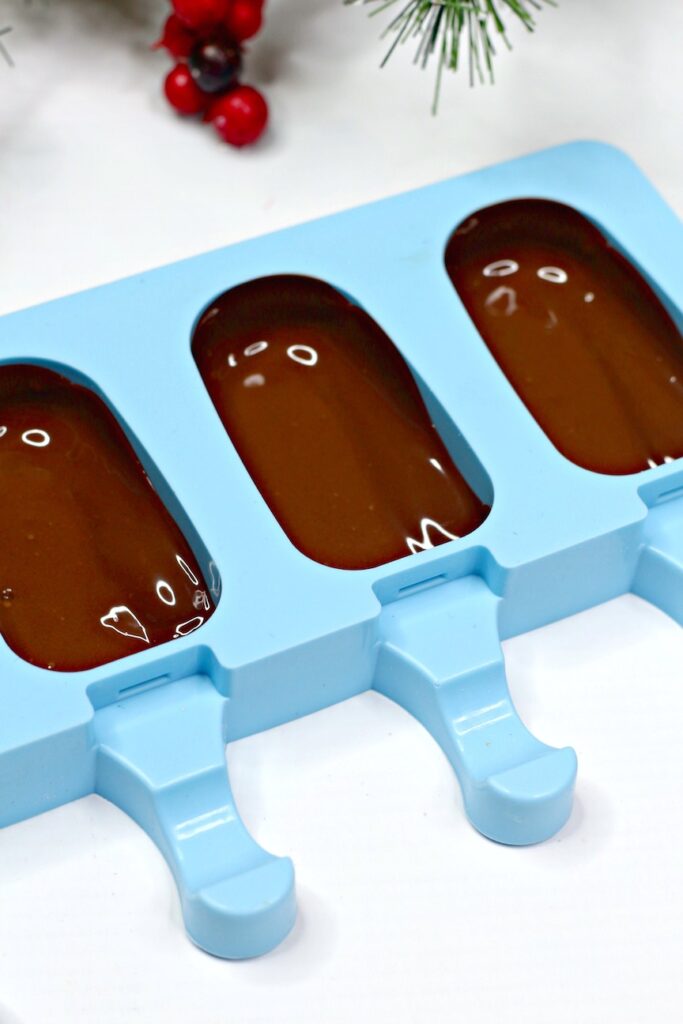
Place mold back into the fridge for another 30 minutes

Carefully remove the cakesicle from the mold

Place onto the wire rack

Repeat steps with remaining cake dough

Using the remaining melted chocolate, spoon it into a piping bag
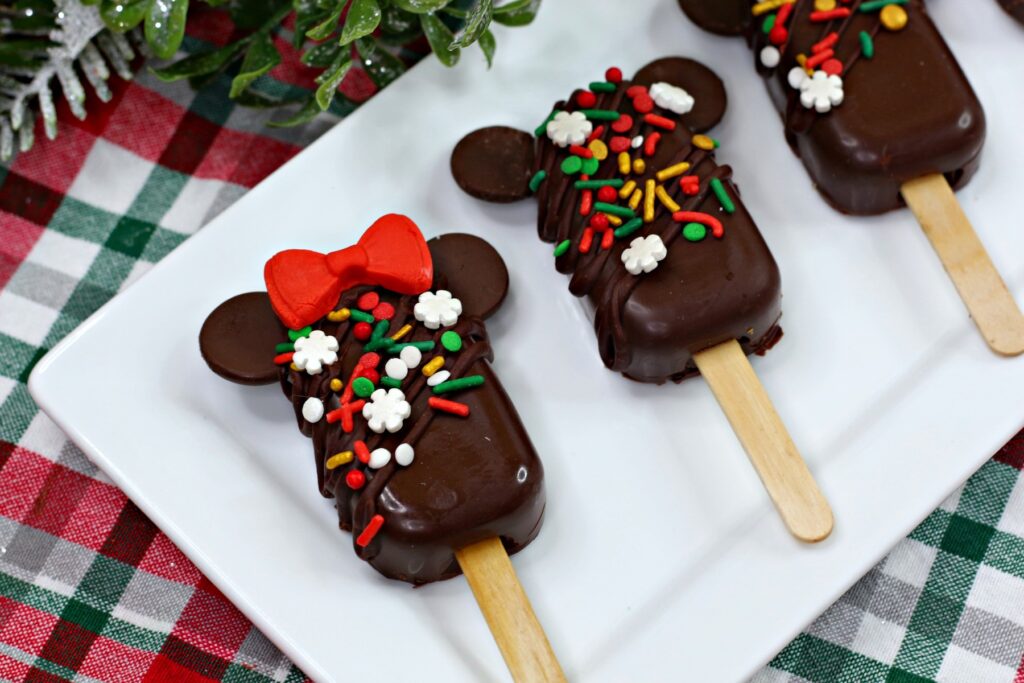
Minnie & Mickey Christmas Cakesicles

Decorating Mickey and Minnie Directions :

Carefully cut the bottom off of the chocolate rounds that were set aside earlier

You will want the bottom of the chocolate rounds to be flat in order
to stick to the sides of the cakesicle

Cut the tip off the piping bag

Carefully pipe a line of melted chocolate onto the smooth bottom of
the chocolate round

Carefully place the chocolate round onto the side of the cakesicle

Hold it there for about 30 seconds or more to make sure the the round
doesn’t fall

Repeat steps to all of the cakesicles made

Once that is completed, dizzle lines of chocolate onto the cakesicles

Sprinkle some christmas sprinkles onto the chocolate lines

Carefully remove the bows from the cookie sheets and place in the
center of half of the cakesicles

Allow the chocolate to set before enjoying!
Upside Down Magic On Disney DVD Now + Giveaway

Upside Down Magic On Disney DVD Now + Giveaway

By Erin

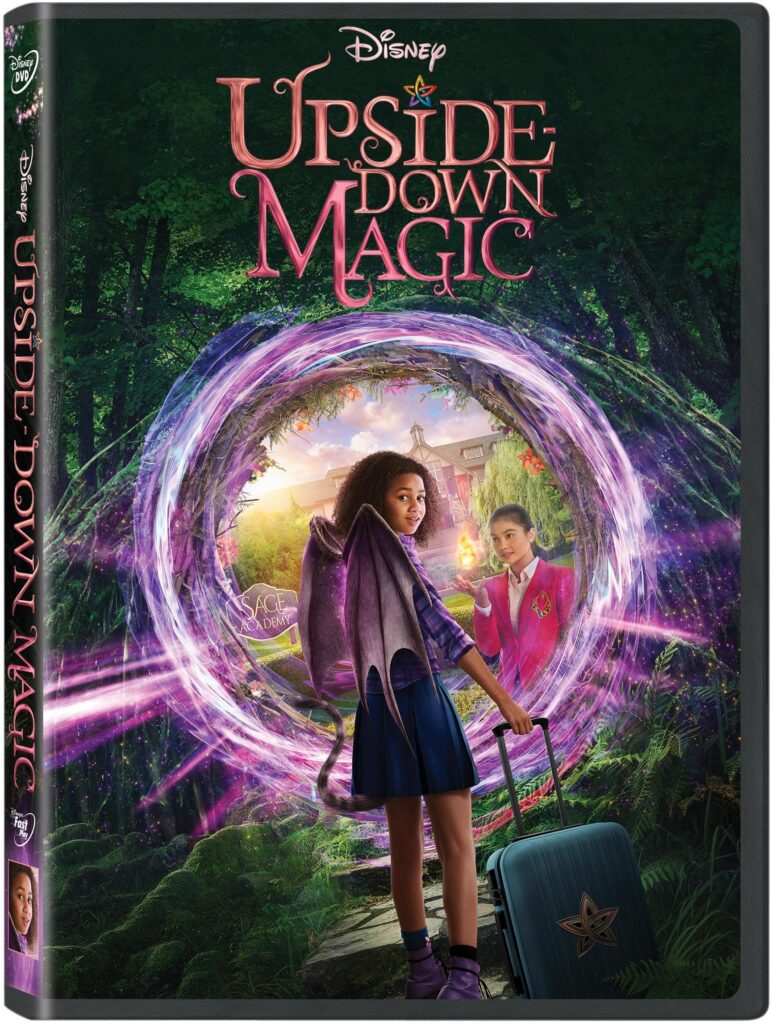
Upside Down Magic on Disney DVD

*An Enchanting Twist on a Classic Story of Friendship and Self-Discovery*

Featuring Exclusive Bonus Content Including Bloopers and Five Deleted Scenes

Upside Down Magic is about 13-year-old Nory who discovers she can flux into animals and her best pal Reina can manipulate flames. They then enter the Sage Academy for Magical Studies. But Nory’s wonky magic and tendency for turning into a “Dritten” – a half-kitten, half-dragon – lands her in a class for those with unconventional powers, and she and her classmates must prove that their upside-down magic beats right-side up!

If you’re a fan of the books, the movie is nothing like the book, but that’s not bad. Watching a movie exactly like the book would be boring.  I like the message of “be the best version of yourself.” These kids are outcasts but in the end turn out to be better than anyone realized. The story and characters were cute and it kept us engaged.

Cast:                   Izabela Rose as Nory Boxwood Horace;  Siena Agudong as Reina Carvajal;  Kyle Howard as Budd Skriff;  Max Torina as Andres Padillo; Elie Samouhi as Elliot Cohen; Alison Fernandez as Pepper Paloma; Vicki Lewis as Headmaster Knightslinger; Yasmeen Fletcher as Chandra; Callum Seagram Airlie as Phillip; Cynthia McWilliams as Professor Argon; Elaine Hao as Professor Han; Amitai Marmorstein as Professor Lewis

Director:                              Joe Nussbaum

Executive Producers:      Joe Nussbaum, Suzanne Farwell and Susan Cartsonis

Teleplay by:                       Nick Pustay and Josh Cagan

Based on:                            The novel “Upside-Down Magic” by Sarah Mlynowski, Lauren Myracle and Emily Jenkins

Bonus Material:                

Bloopers (DVD Exclusive)  – Laugh along with the cast as they flub their lines, make mistakes and act goofy on set.

Deleted Scene #1 (DVD Exclusive)  –“Night Before Sage”

Deleted Scene #2 (DVD Exclusive)  –“How’d You Do?”

Deleted Scene #3 (DVD Exclusive)  –“Hey, Goat”

Deleted Scene #4 (DVD Exclusive)  –“Don’t Wait Up”

Deleted Scene #5 (DVD Exclusive)  –“Ready for Anything”

Music Video #1 – “Everything’s Magic” Performed by the Cast

Music Video #2 – “A Place For Us” Performed by Izabela Rose & Siena Agudong

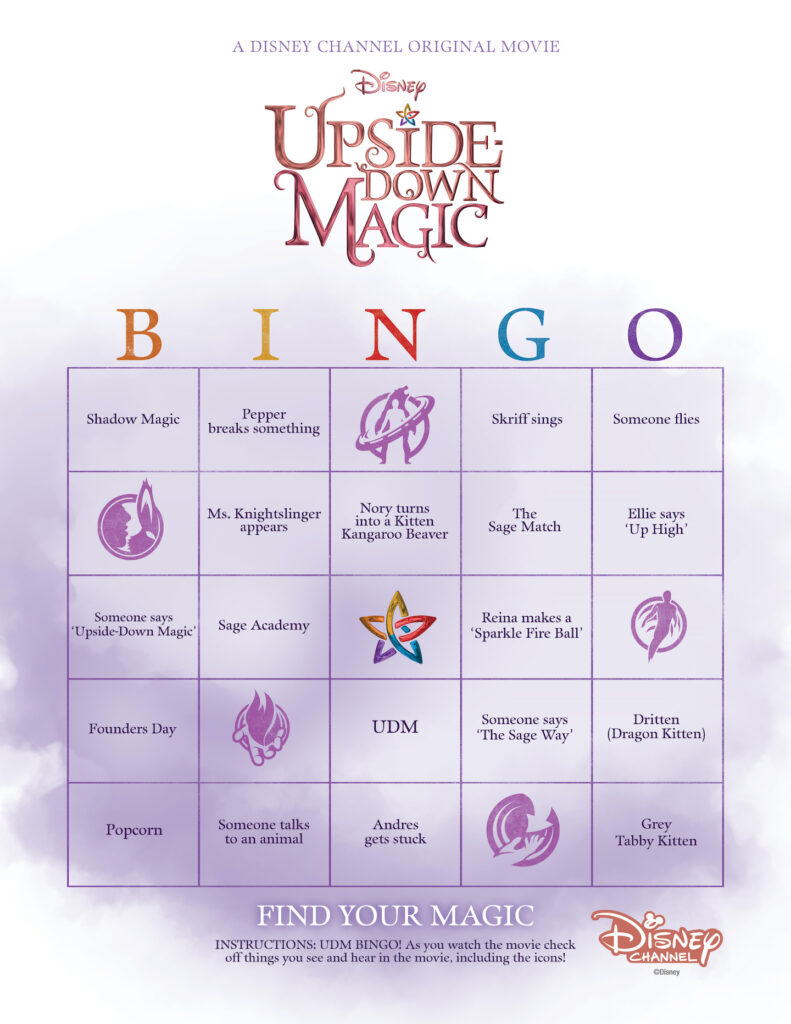
Here’s a super FUN activity you can do while watching the movie! It’s Upside Down Magic BINGO! As you watch the movie, check off the things you see and hear, including the icons!

Upside Down Magic BINGO game

Now for the other really fun part! Enter below in the rafflecopter for your chance to win your own copy of Upside Down Magic just in time for the Holidays! Must be a US resident +18 years or older. Ends 12/11/20 at 12AM PST. Go to the sweepstakes tab on the blog for all giveaway rules. Good-luck!

a Rafflecopter giveaway

Need some more family movie night ideas? Try these!

Mulan

Toy Story 4

Frozen 2

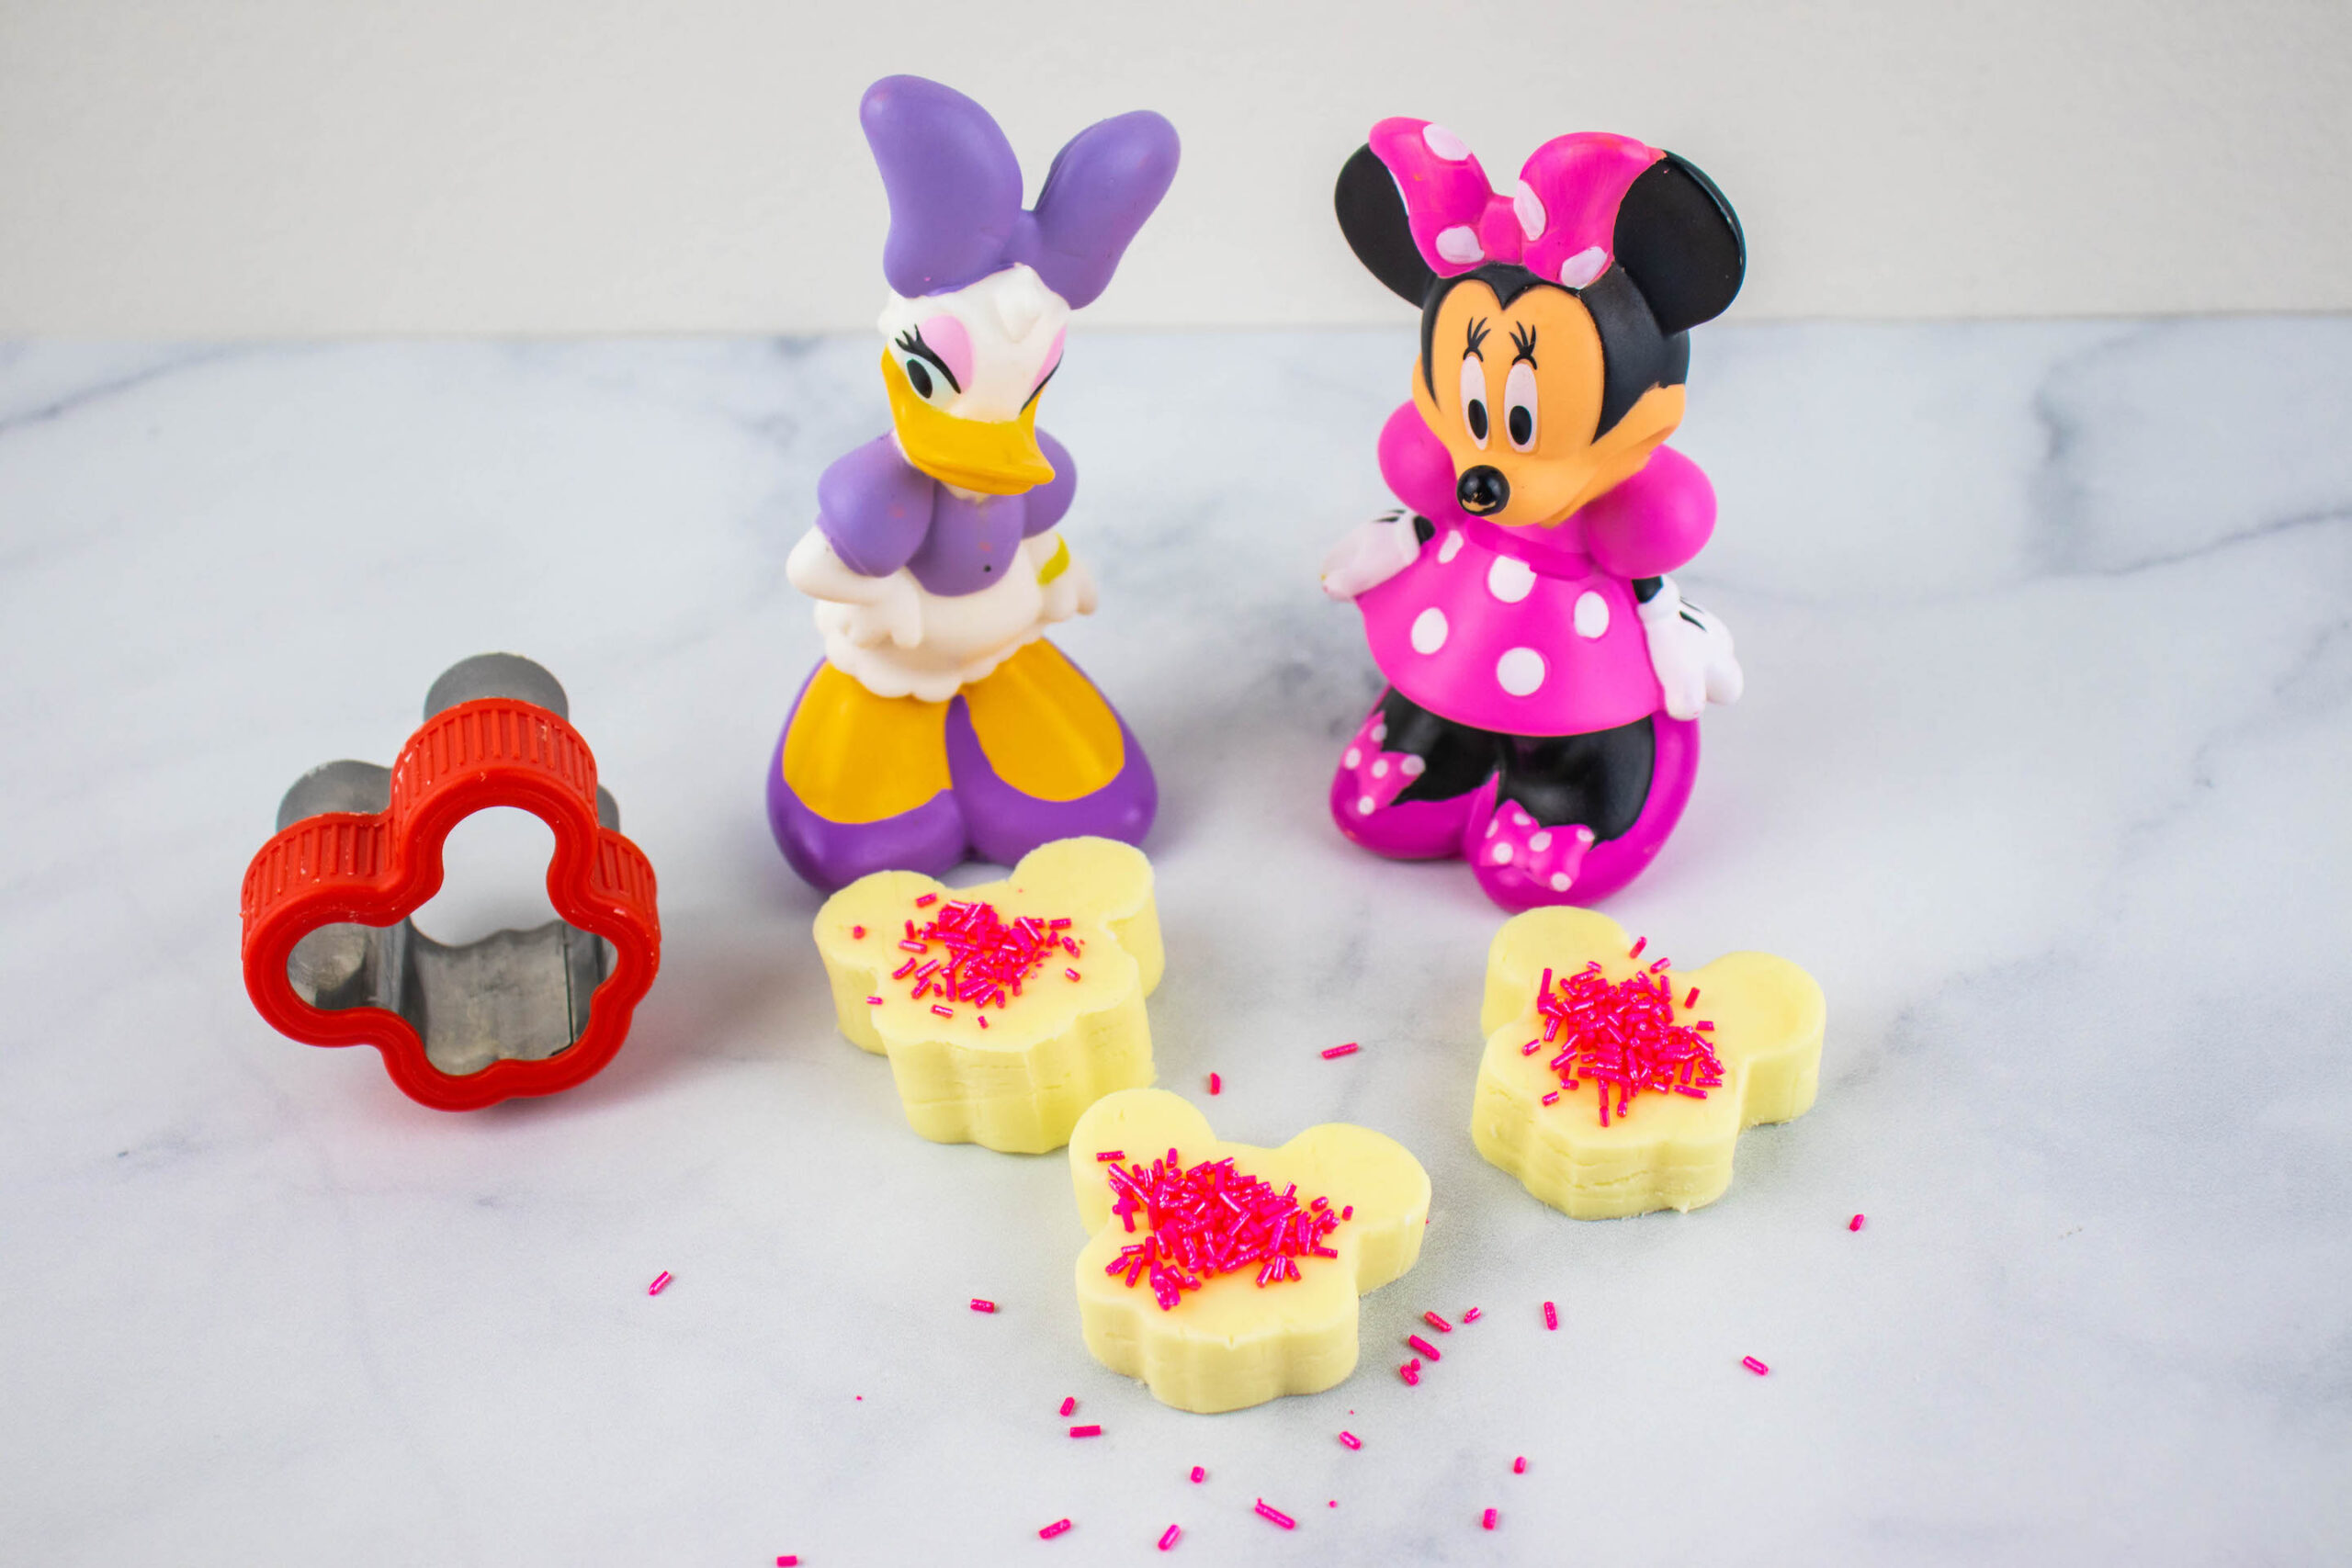
Minnie Mouse Lemon Play-Dough

Minnie Mouse Play-Dough

By Erin

Minnie Mouse Lemon Play-Dough

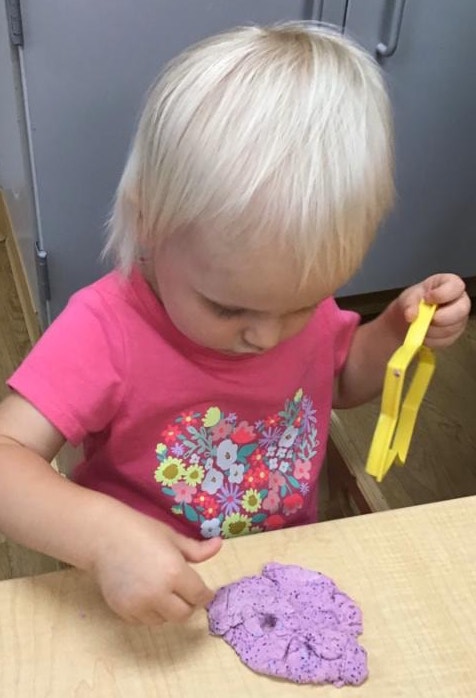
Looking for something fun for your little ones to do? This homemade Minnie Mouse Lemon Play-Dough recipe is edible, cheap, quick and easy to make with a Disney twist for some added magic! It’s fun for your kids and won’t hurt them if they happen to take a bite! It’s also excellent for developing a child’s fine motor skills. This activity helps children to strengthen their small muscles in their fingers by squishing and squashing. This has been one of my 1 1/2 year old niece’s favorite things to make and play with lately.

What You Need

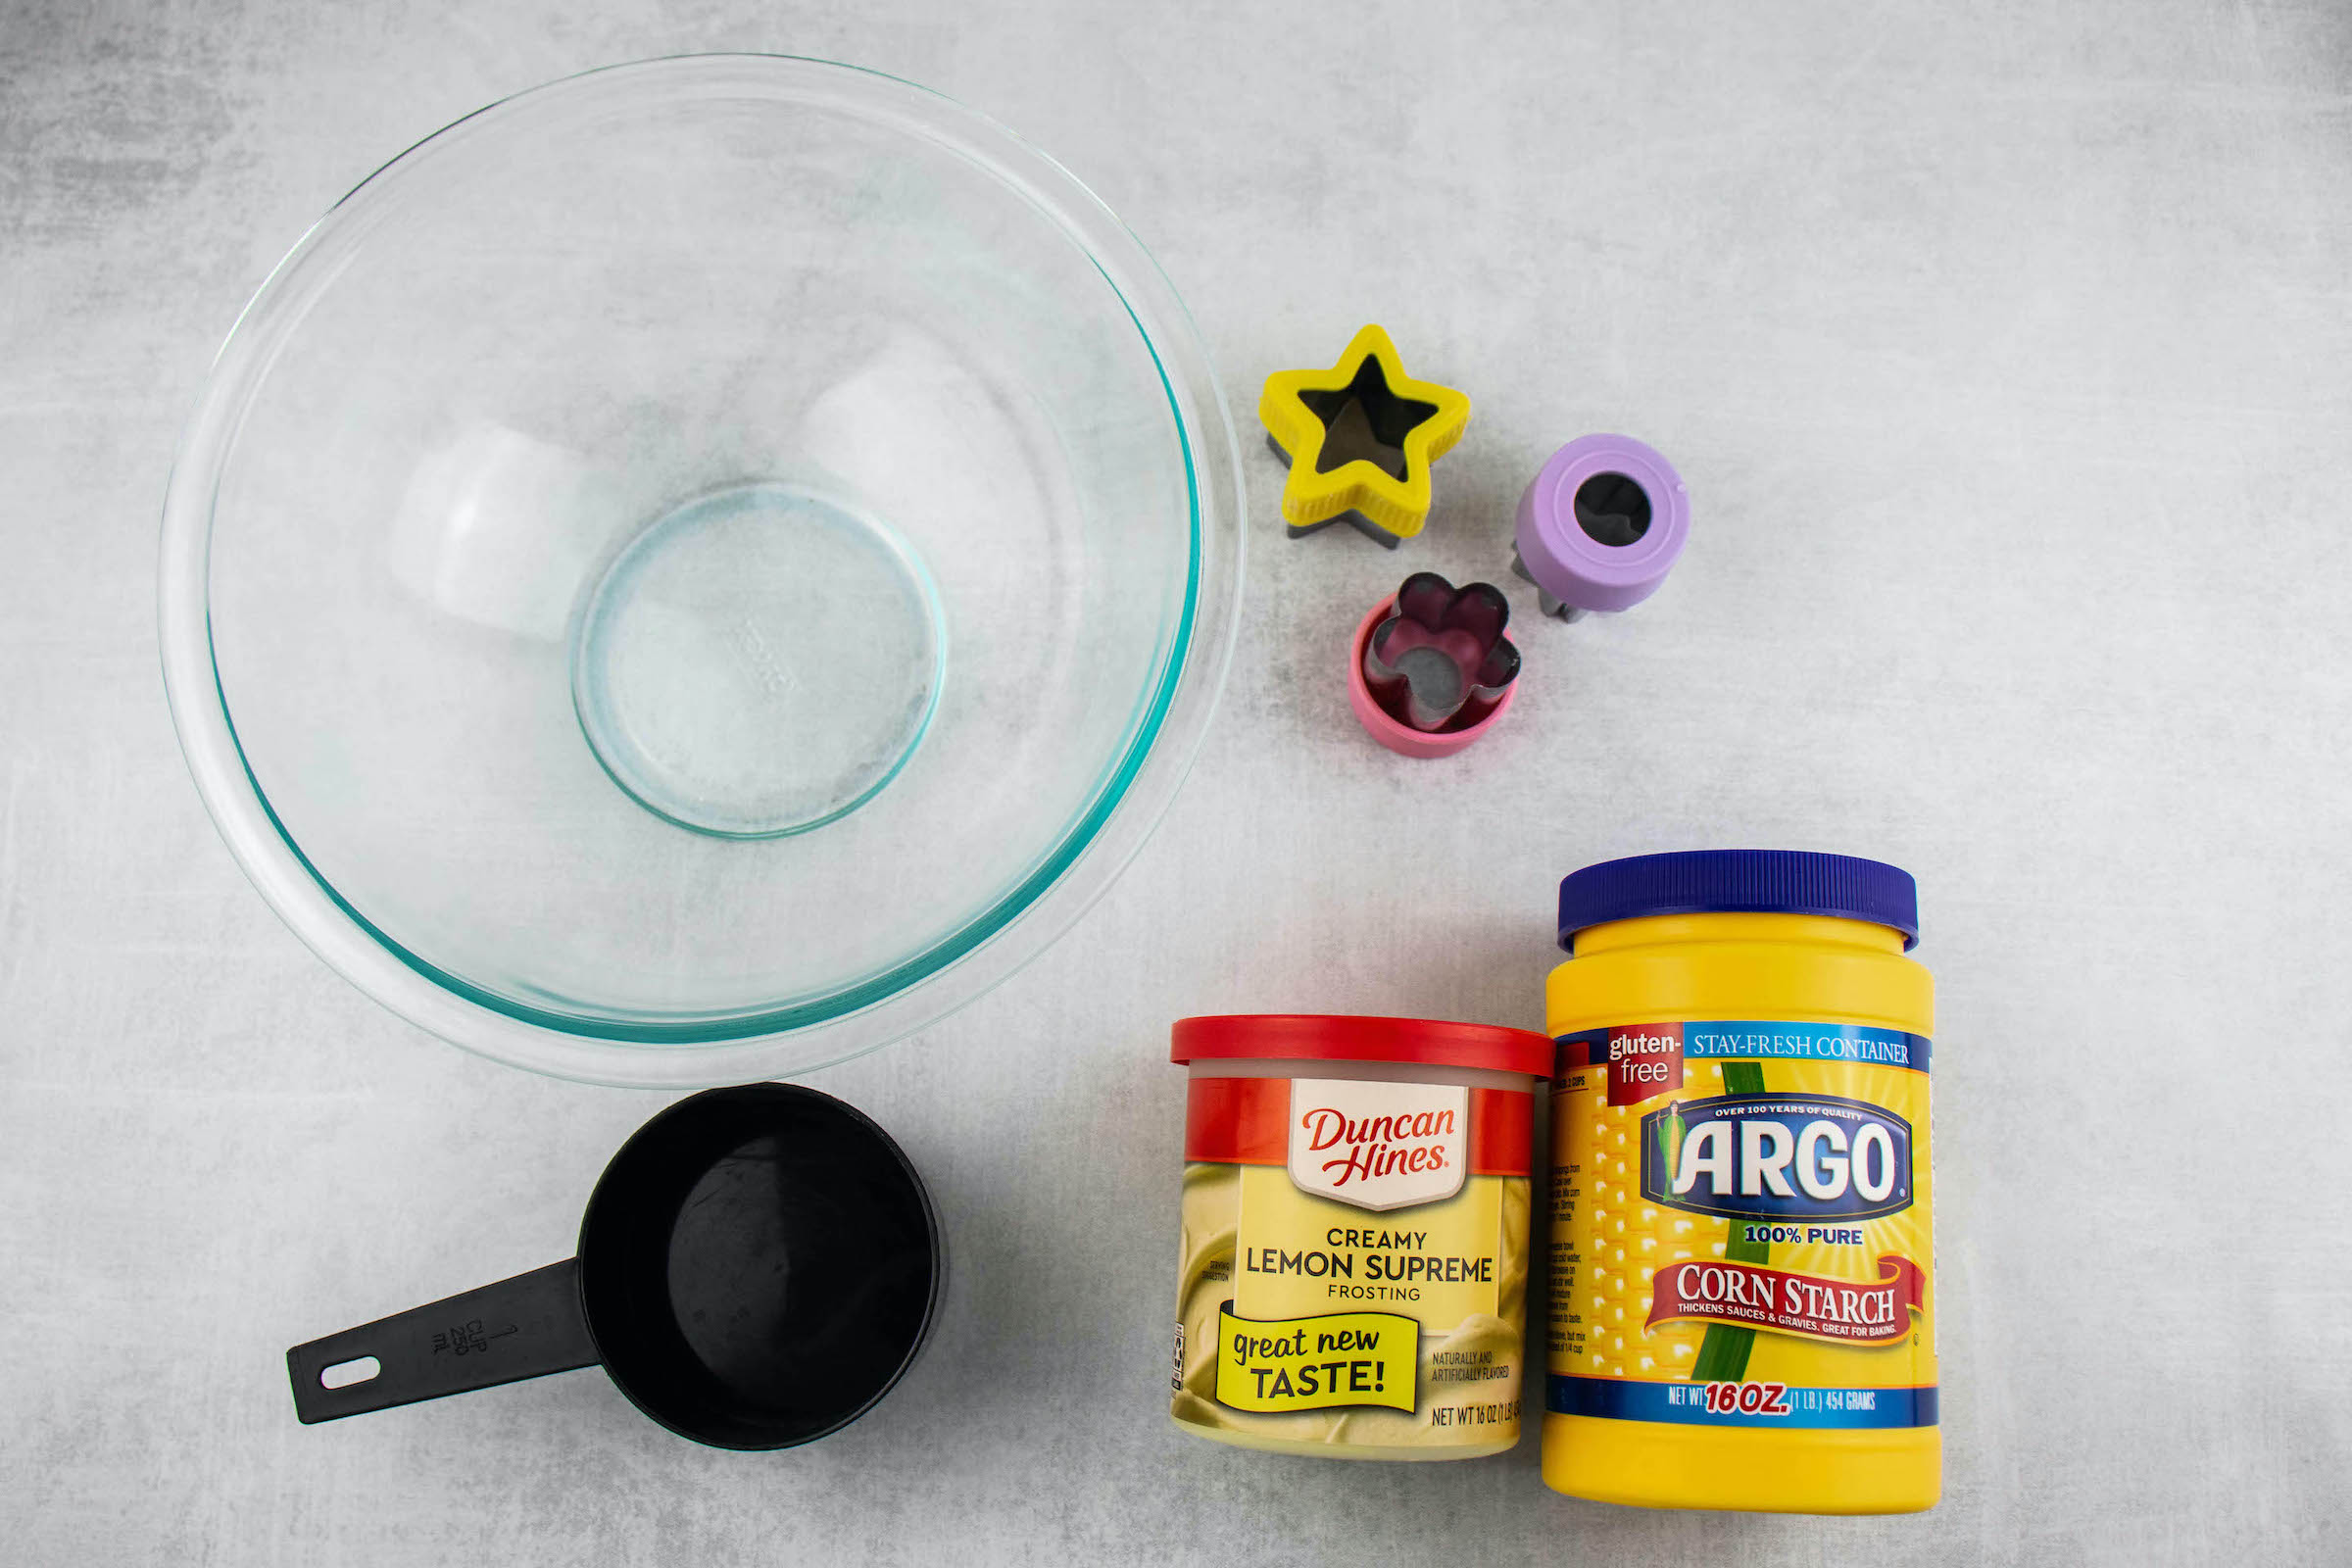
1 tub Lemon frosting 

1 cup cornstarch

Colorful sprinkles

Edible Glitter

Food cutters (Disney Character shapes for some added magic!)

*Optional* Food coloring if you want to change the color, my niece loves purple so of course we made some purple play-dough too ;)*

Instructions

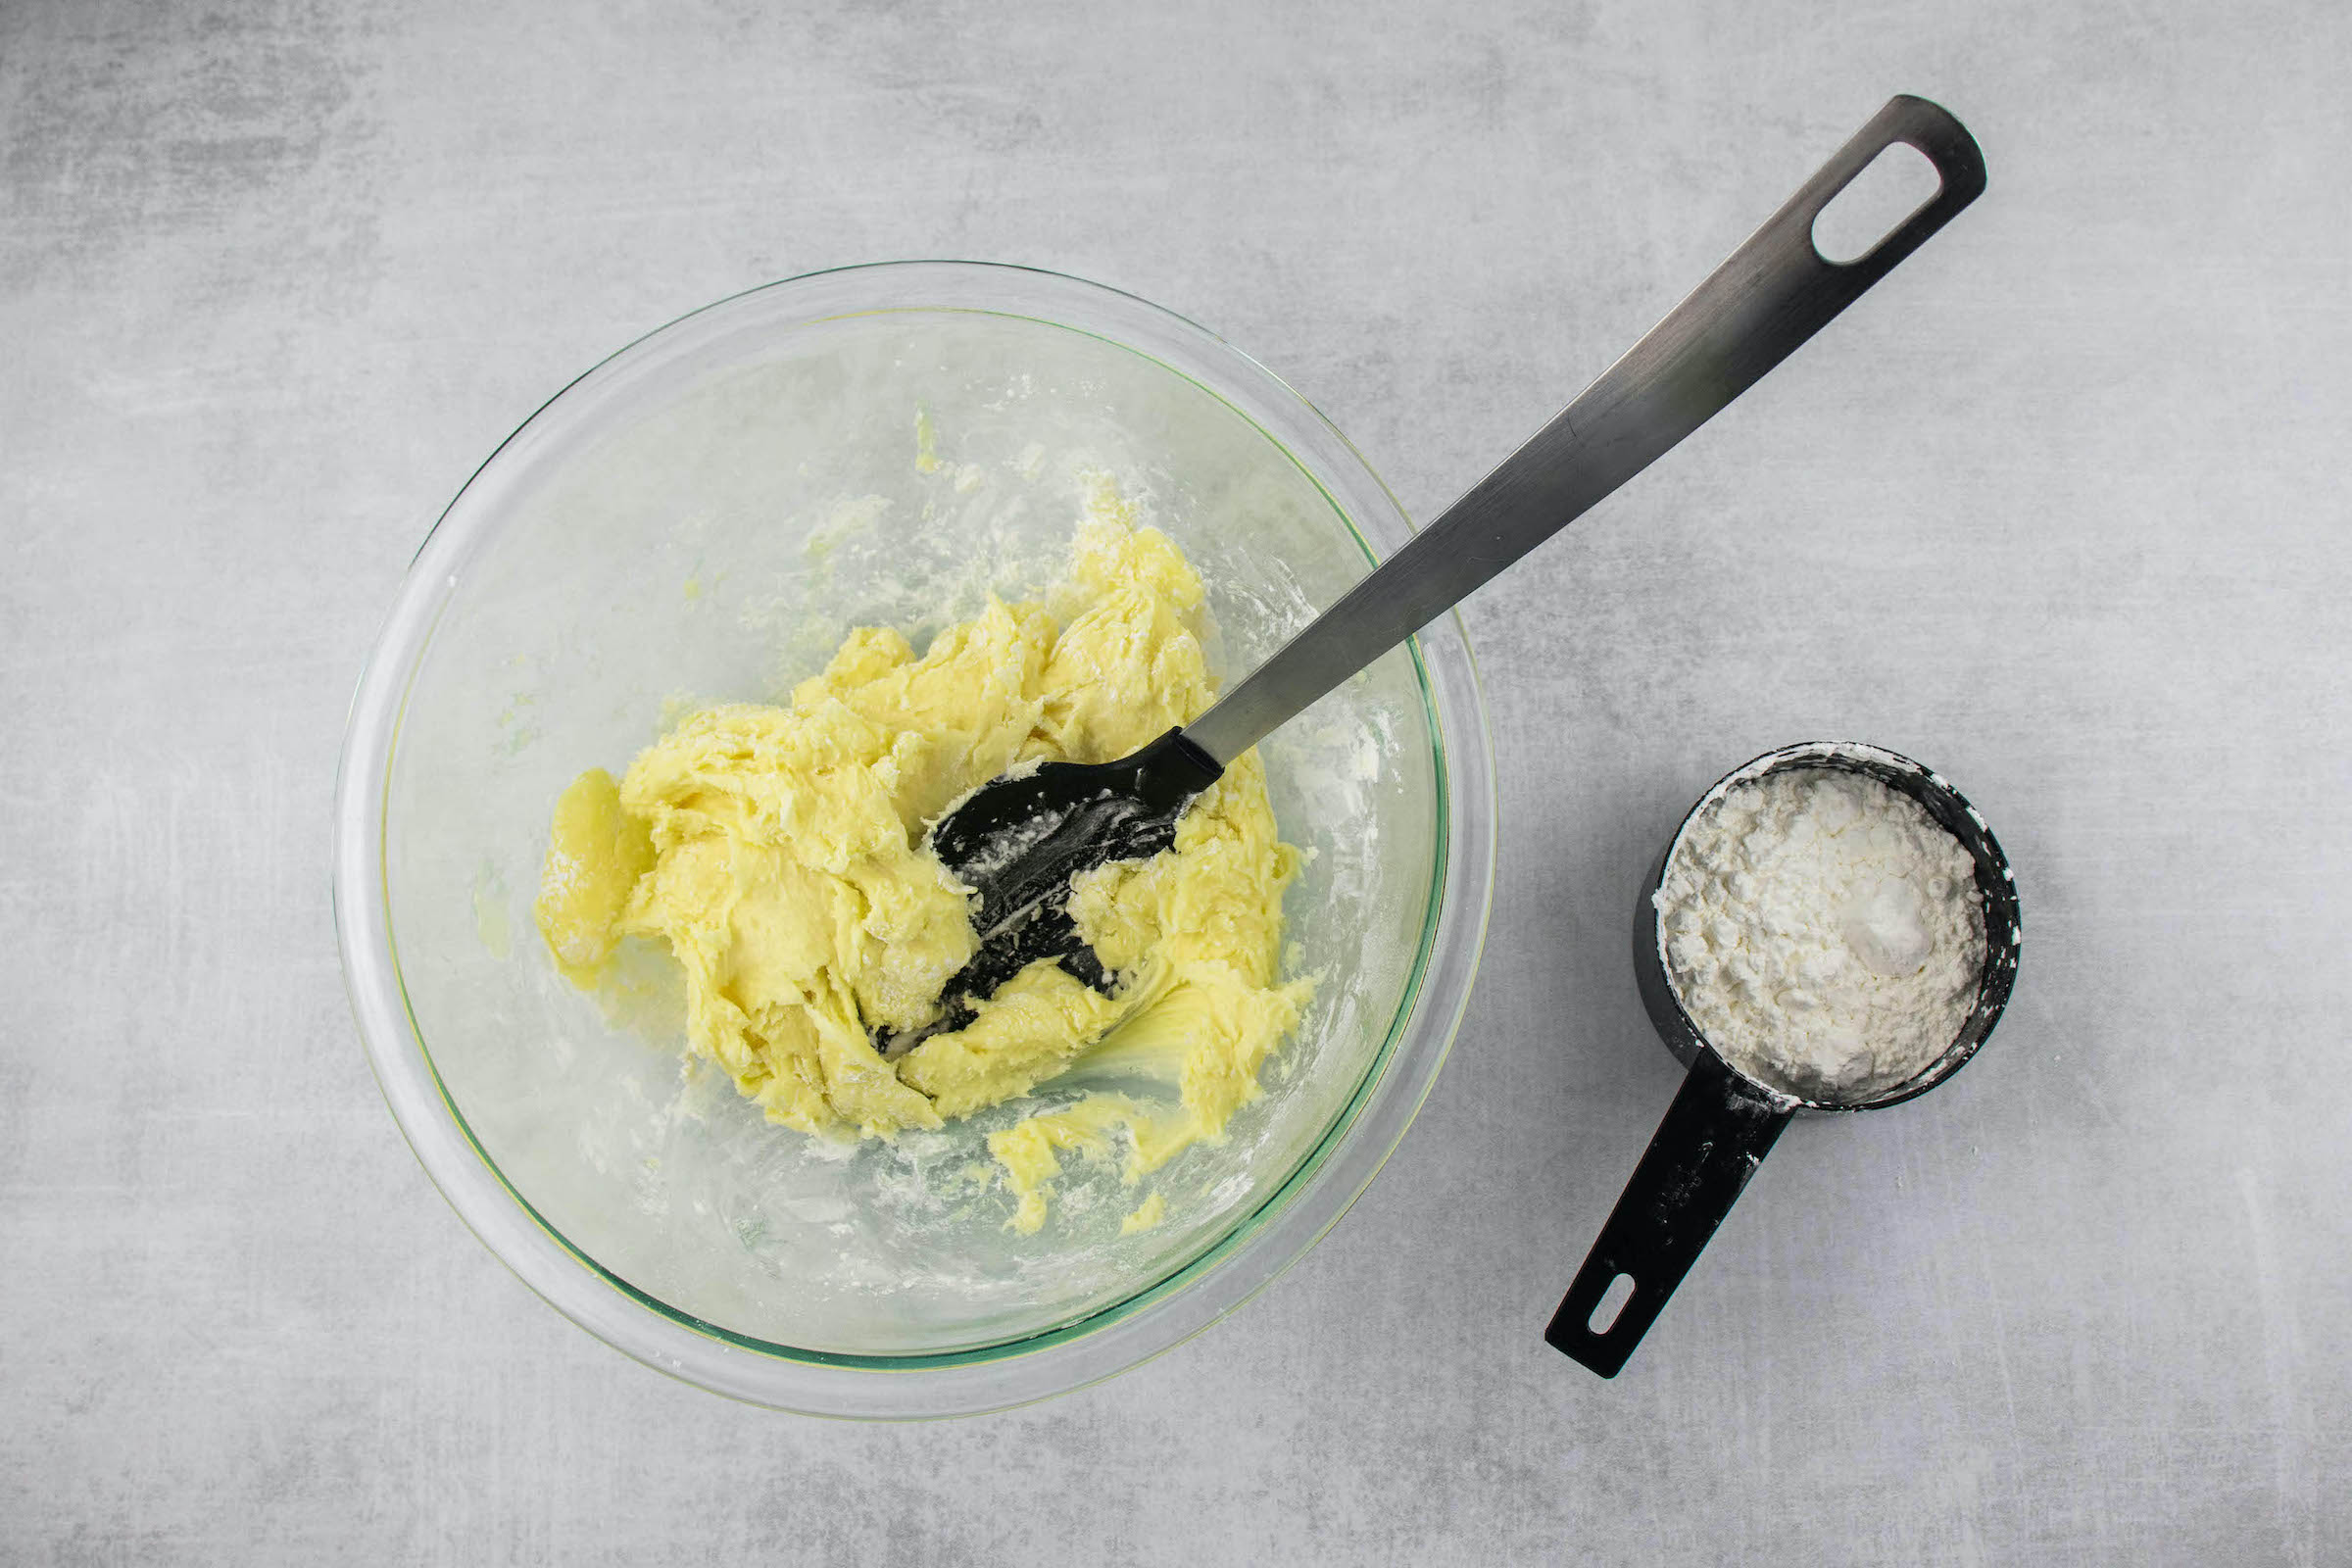
  1. Add 1 full tub of Lemon frosting to a big mixing bowl 
  2. Combine with 1/2 cup of cornstarch and mix with a spatula, spoon or your hand mixer. Then add the remaining ½ cup of cornstarch one spoonful at a time and mix well. Finish kneading the dough by hand until completely mixed. The play dough should be completely mixed and pliable but no longer sticky.
Making Minnie Mouse Lemon Play Dough
  1. Make small bowls of play doh and flatten the dough
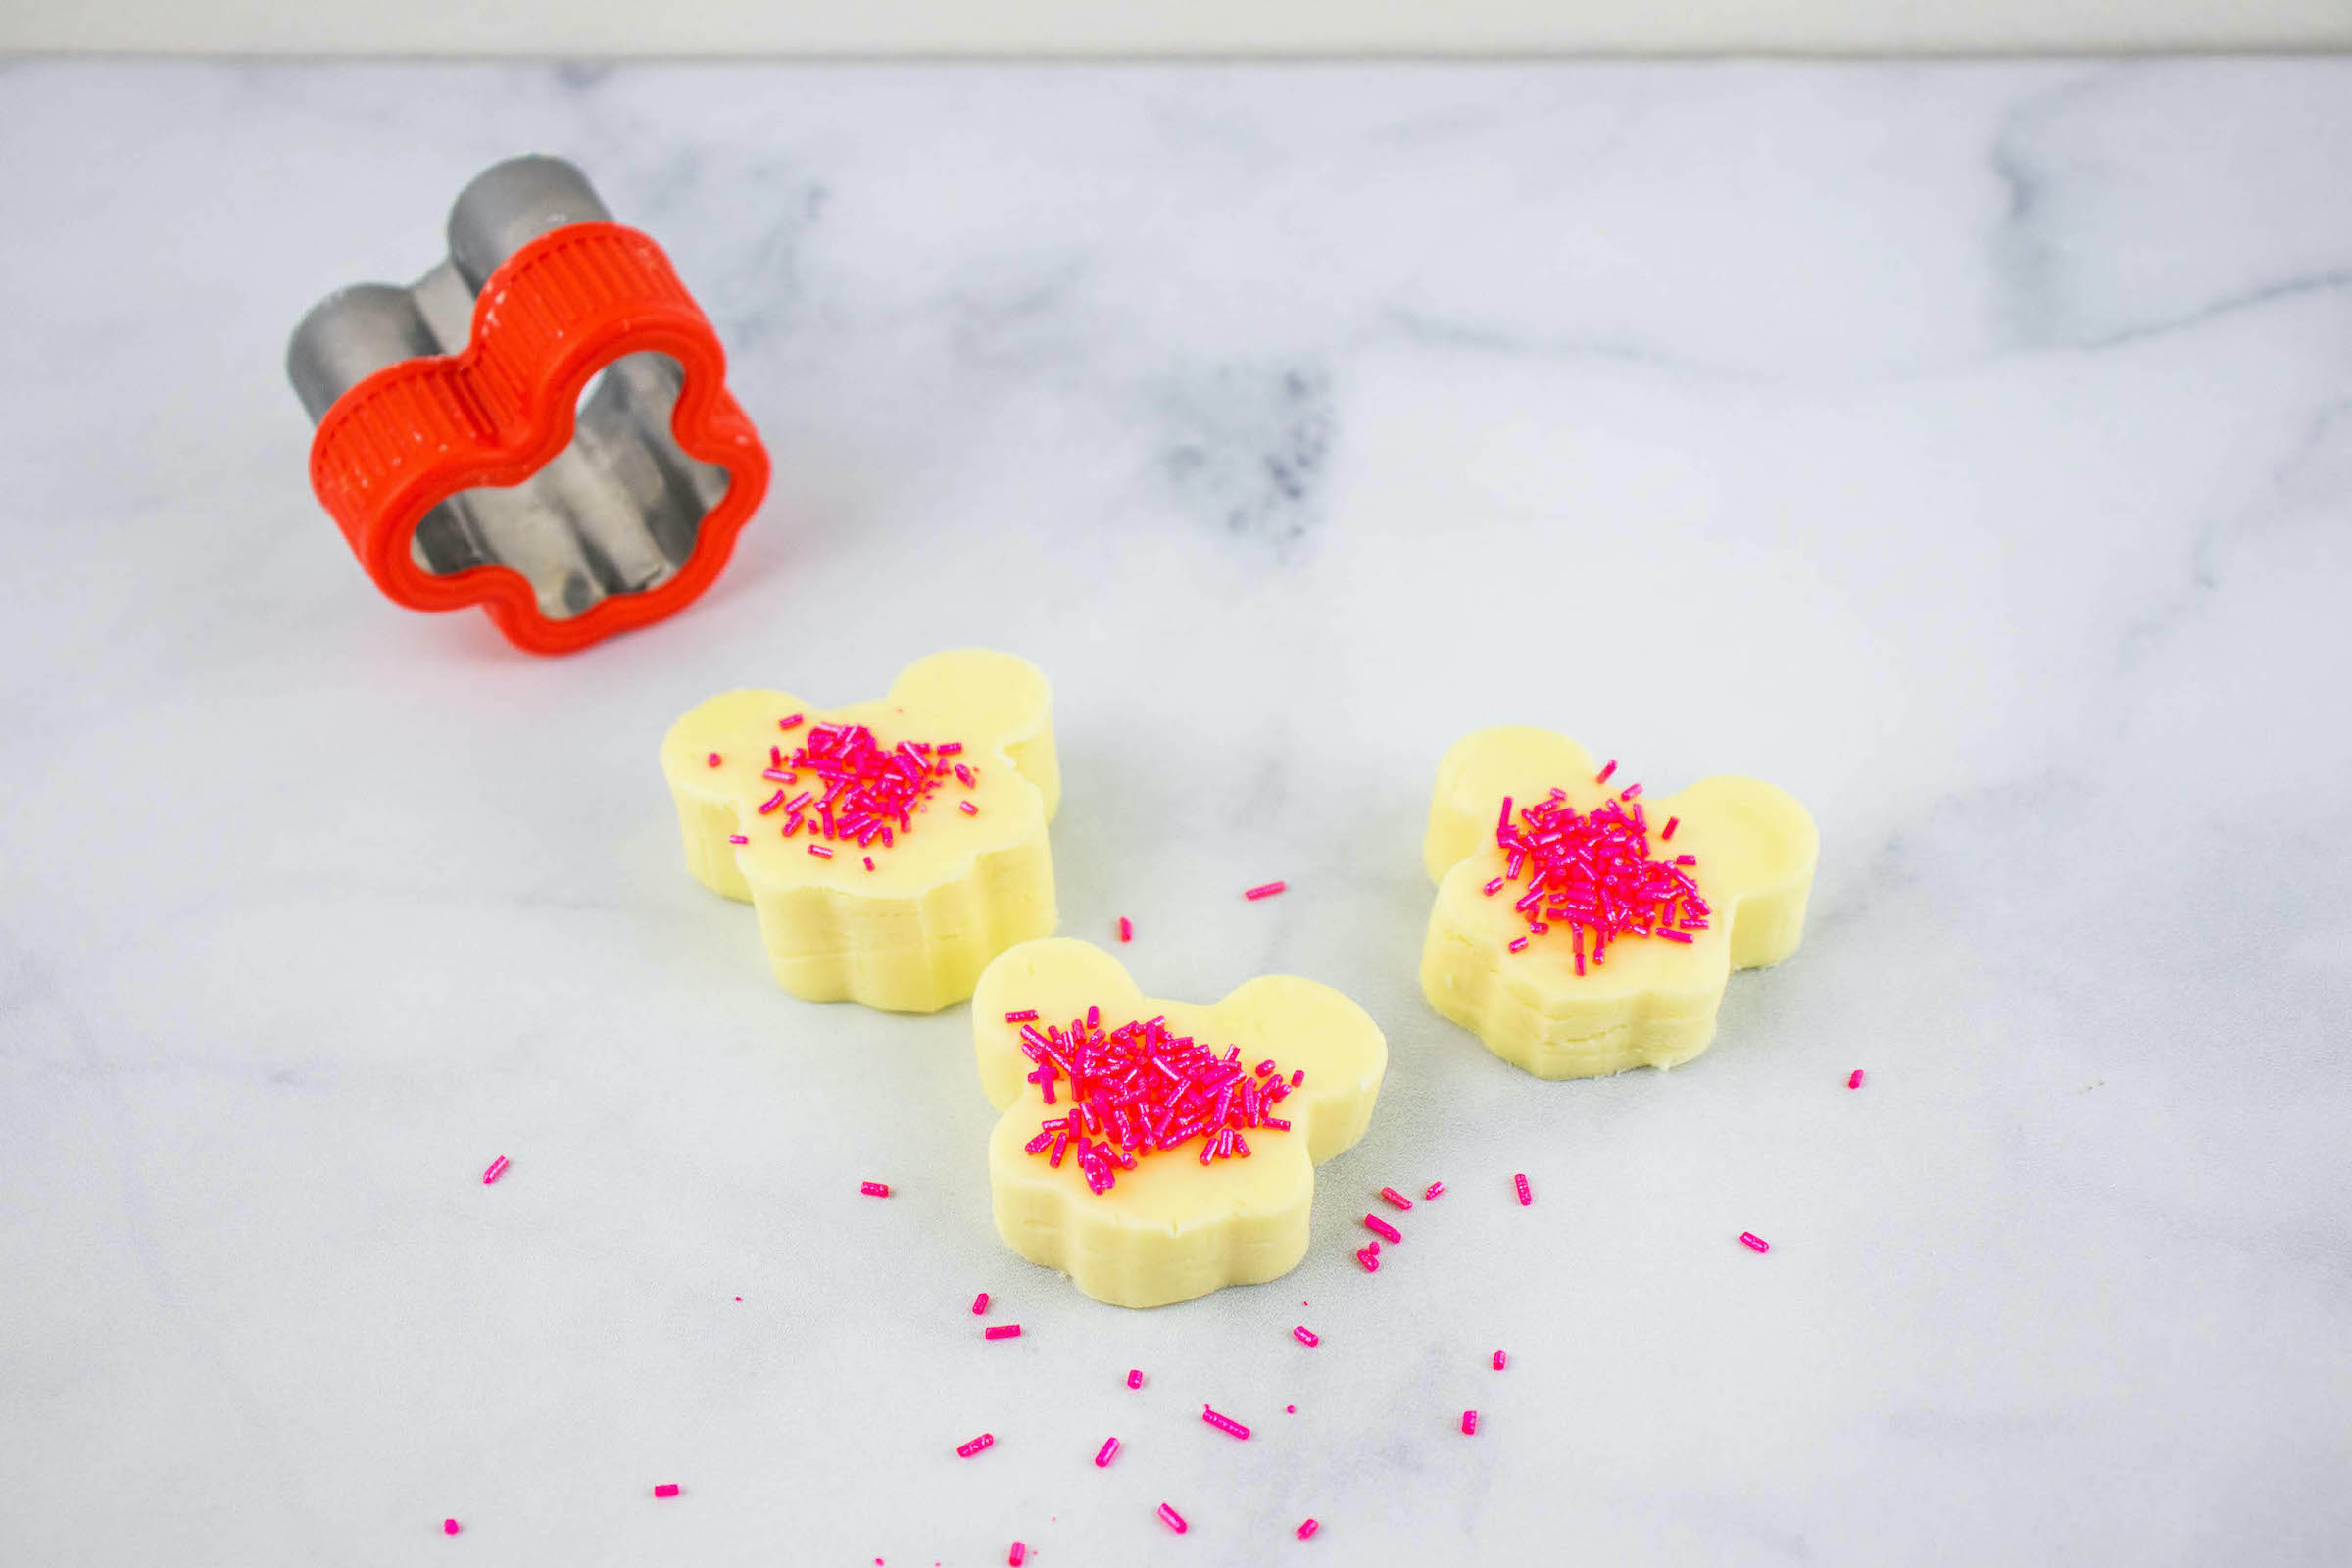
  2. Use the food cutters to make shapes from the dough. After you push the food cutter down, wiggle it a little bit to make a clean shape then twist it to separate the outer part of the dough. Push the shape gently with your finger out of the food cutter. 
  3. Decorate with colorful sprinkles and/or edible glitter!

If your edible play dough crumbles or gets too tough, soften with any type of oil. If the play dough gets sticky add a little cornstarch to soften. Discard after playtime is over. While this play dough is “edible” it is not meant to be eaten in large quantities!